Table of Contents
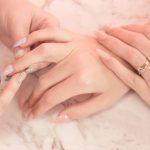
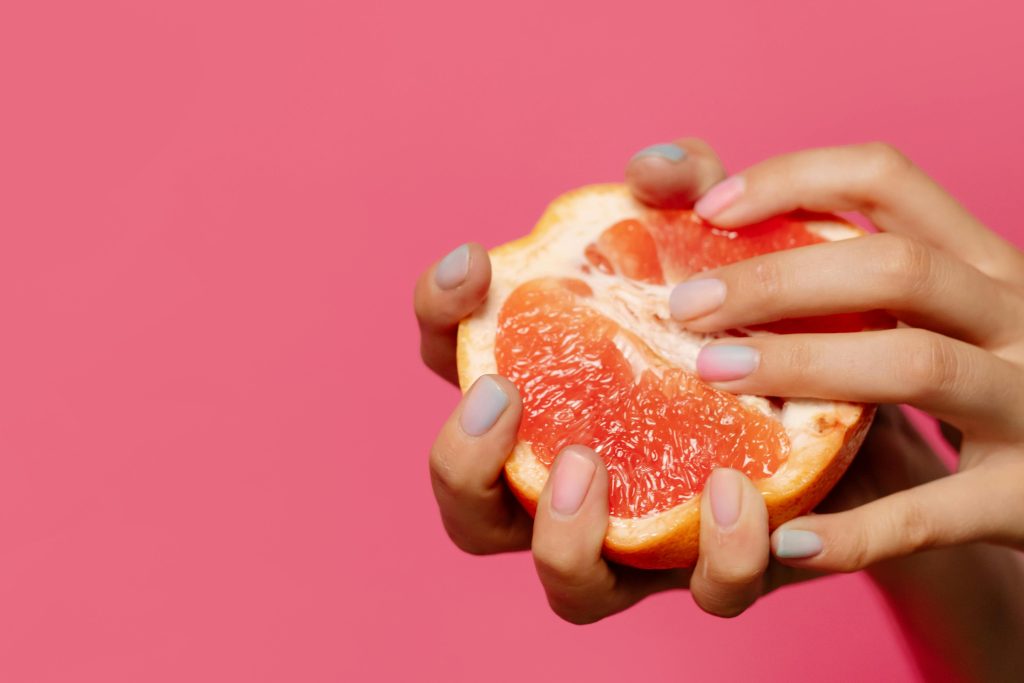
Looking for a nail design that’s both subtle and stunning? Ombre nails are your answer.
This gradient effect works with any color combo you can think of. Plus, they’re perfect for both special events and everyday wear.
The best part? You can create these designs at home with just a few supplies and some patience. These ombre nail ideas will make everyone ask about your manicure.
Getting Started: What You’ll Need
Before you start your ombre nail journey, gather these items:
- Your base color polish
- The second color for the gradient
- A makeup sponge
- Clear base coat
- Top coat
- Liquid latex or nail tape (for easy cleanup)
- Cotton swabs
- Nail polish remover
How to Achieve Stunning Ombre Nails
The Sponge Method is the most popular way to create ombre nails, and it’s not as tricky as it seems.
Step 1: Start with a light base color and let it dry completely.
Step 2: Paint both colors side by side on a makeup sponge, slightly overlapping them.
Step 3: Then, dab the sponge onto your nail, moving it slightly up and down to blend the colors.
Step 4: Repeat this process until you get the gradient you want.
Quick tip: Always apply liquid latex or nail tape around your cuticles first. This makes cleanup so much faster, and you won’t spend time scrubbing polish off your skin.
Different Types of Ombre Styles
There’s more than one way to create that gorgeous fade effect and these variations work for any style.
There’s more than one way to create that gorgeous fade effect and these variations work for any style.
1. Vertical Ombre
Instead of the usual horizontal gradient, try running your colors from top to bottom. This looks especially good with long nails and creates an elongated effect that makes your fingers look longer.
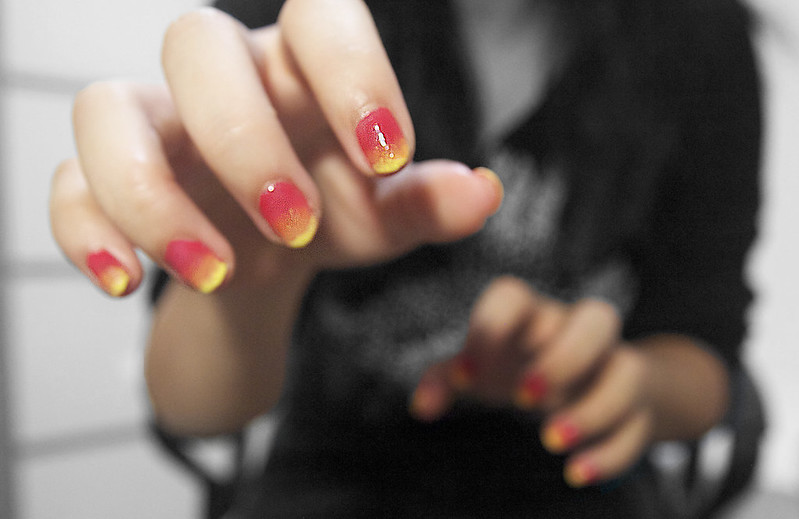
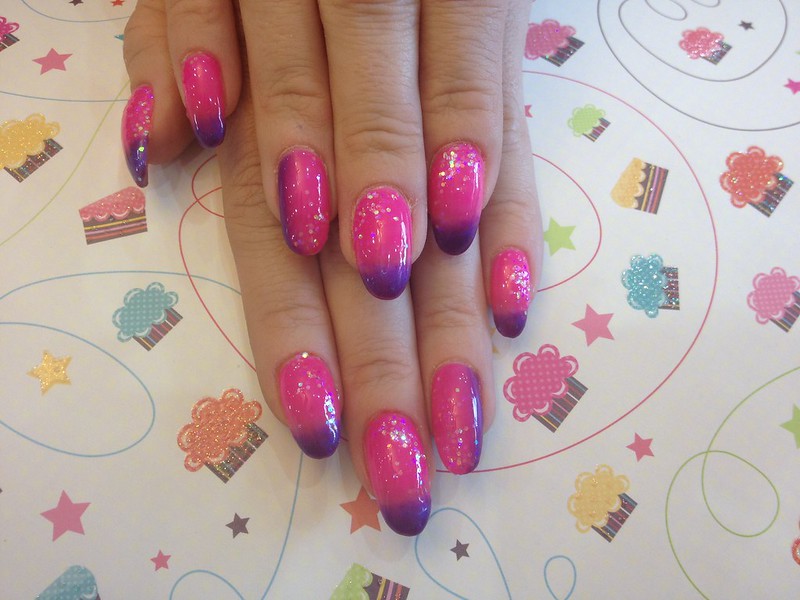
2. Glitter Fade
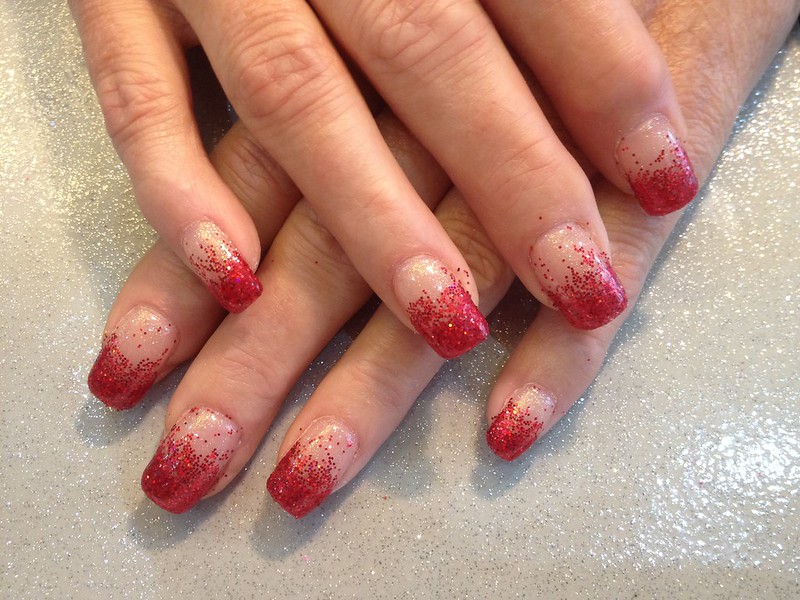
Add some sparkle by using a glitter polish as your second color. The trick is to concentrate the glitter at the tips and let it gradually fade down. This style works great for parties and special occasions.
3. Rainbow Ombre
Want something bold? Use multiple colors to create a rainbow effect. Start with red at the base and work your way through orange, yellow, green, and blue. This takes more time but looks incredible when done right.
4. French Ombre

This modern take on the French manicure uses soft color transitions instead of harsh lines.
Paint the whole nail in a nude shade, then create a gradient effect at the tips using white polish. It’s subtle enough for work but still has that wow factor.
Stunning Color Combinations for Ombre Nails
These timeless combinations work year-round and suit any style:
- White to pink: Creates a soft, romantic look perfect for everyday wear
- Navy to light blue: Adds sophistication with a smooth ocean-inspired fade
- Black to grey: A modern, edgy combination that’s surprisingly versatile
- Nude to white: The most requested salon combo for a clean, elegant look
- Purple to pink: Brings a fun pop of color while staying sophisticated
The secret to picking great color combinations? Choose shades that are next to each other on the color wheel, or go for different shades of the same color. This creates the smoothest transition.
Seasonal Ombre Nail Ideas
Match your manicure to the season with these perfect pairings:
- Spring: Pastel pink to white captures the delicate beauty of cherry blossoms
- Summer: Orange to yellow brings sunshine vibes to your fingertips
- Fall: Burgundy to nude mirrors the rich, warm colors of autumn leaves
- Winter: Deep blue to silver creates a frosty, elegant effect
Ombre Nail Ideas for Different Occasions
Need ombre ideas for specific events? These combinations have got you covered.
1. Work-Friendly Options
Keep it professional but still stylish with these subtle combinations:
- Nude to white: The ultimate clean and polished look
- Beige to light pink: Soft enough for conservative offices
- Grey to silver: Modern and understated for everyday wear
- Soft pink to white: Professional with a feminine touch
2. Party Designs
When it’s time to make a statement, try these bold pairings:
- Black to gold: Creates dramatic evening glamour
- Purple to silver: Perfect for night events with a magical touch
- Blue to turquoise: Catches the light beautifully under party lights
- Red to pink with glitter: Adds sparkle and fun to any celebration
Common Mistakes and How to Fix Them
Getting the perfect ombre isn’t always easy but these fixes will help you nail it every time.
1. Uneven Coverage
If your gradient looks patchy, you’re probably not using enough polish on the sponge. Add more polish and make sure you’re overlapping your colors slightly when you apply them to the sponge.
2. Harsh Lines
When your colors aren’t blending smoothly, try moving the sponge up and down more when applying. You can also try mixing your colors slightly on the sponge before applying them to your nails.
3. Messy Cuticles
Always use liquid latex or nail tape around your cuticles. If you don’t have these, petroleum jelly works too. Just apply it around your nails before starting.
Pro Tips for Long-Lasting Results
Want your ombre nails to stay perfect for weeks? Here’s what really works.
Tip 1: Start Fresh
Always begin with clean, oil-free nails. Wash your hands thoroughly and use nail polish remover to get rid of any oils or residue. This helps your polish stick better and last longer.
Tip 2: Layer it Thin
Thin layers are key to a lasting manicure. Thick layers take forever to dry and are more likely to chip or peel. Apply your polish in light, even strokes, and you’ll get much better results.
Tip 3: Practice Patience
Let each layer dry completely before adding the next one. Rushing between layers can cause smudging and bubbles. Take your time and your nails will thank you for it.
Tip 4: Base is Best
Never skip your base coat. It protects your nails from staining and gives the polish something to grip onto. Think of it like a primer for your walls – it makes everything last longer.
Tip 5: Seal the Deal
A quality top coat isn’t just for shine. It protects your ombre design and prevents chipping. Apply it carefully, making sure to cover the entire nail surface.
Tip 6: Edge Protection
Cap the free edge of your nails with both polish and top coat. Run the brush along the tip of each nail to seal it. This stops water from getting under your polish when you wash your hands.
Tip 7: Maintenance Matters
Keep your manicure fresh by adding a thin layer of top coat every few days. This simple step can add days to the life of your ombre design.
Time to Show Off Your Skills
Now you have all the information you need to create gorgeous ombre nails at home. Remember that practice makes perfect. So, even if your first try isn’t perfect, keep at it. Soon you’ll be creating beautiful gradient effects that look professional.

Hi, I’m Kate, a DIY enthusiast with a passion for creative nail designs. When I’m not caring for my herb garden or spending time with my two dogs, I’m trying out fresh nail colors and designs. I love mixing up my look with bold nails and accessories, and I’m excited to share my tips and ideas with others who enjoy a bit of DIY flair in their routine.