Table of Contents
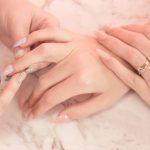
Pearls aren’t just for necklaces anymore. The latest nail trend taking over social media puts these tiny, luminous beads right at your fingertips.
So, if you’re tired of basic manicures but want something that still looks classy, pearl nails are exactly what you need. Here. I’ll show you pearl nail ideas that look like a million bucks, to inspire your next manicure and how to care for them.
Why Choose Pearl Nails?
Pearl nails blend vintage charm with modern style. Unlike glitter or rhinestones that can look a bit much for everyday wear, pearl details add sophistication to any manicure.
They work for both subtle looks and bold statements, making them perfect for everything from office meetings to wedding days.
The best part? You can create pearl nail designs at home. While they look fancy, most styles only need a few basic tools and some practice. Plus, they last longer than regular nail art because the pearls are sealed under a top coat.
Getting Started with Pearl Nails
Before you start creating your pearl nail design, here’s what you’ll need:
- Base coat
- Neutral polish (white, cream, or pale pink work best)
- Nail pearls from your local beauty supply store
- Clear top coat
- Small tweezers
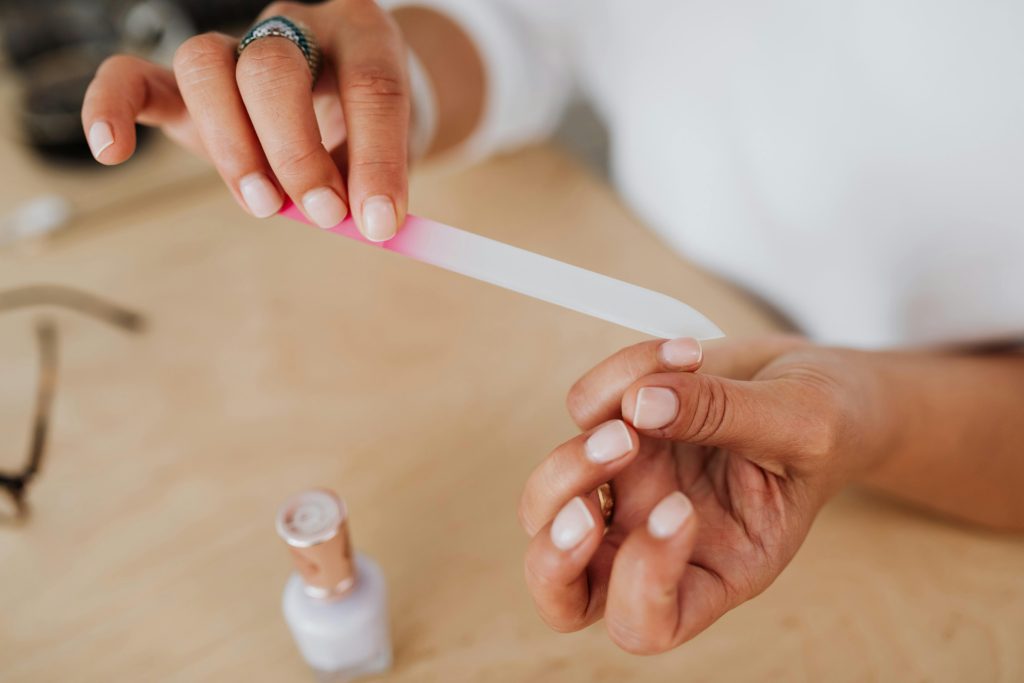
Also, always remember that good prep work makes your pearl nails last longer. So, start with clean nails and pushed-back cuticles.
Apply your base coat and wait for it to dry fully. Most people want to skip this waiting part but trust me, those extra few minutes mean your design will stay perfect for days.
Easy Pearl Nail Designs Anyone Can Do
Ready to create your first pearl nail design? Here are three gorgeous styles you can start with, from super simple to slightly fancy:
1. The Classic Pearl Border
The pearl border design is like a string of tiny pearls framing your nails. It’s perfect for anyone trying pearl nails for the first time.
- Start with two coats of your favorite neutral polish
- Let your nails dry completely (about 10-15 minutes)
- Use tweezers to place small pearls along your cuticle line
- Space the pearls evenly, about 2mm apart
- Seal everything with a thick top coat
Pro tip: If you’re having trouble with straight lines, use a dotting tool to make tiny marks as guides for pearl placement.
2. Scattered Pearl Accents
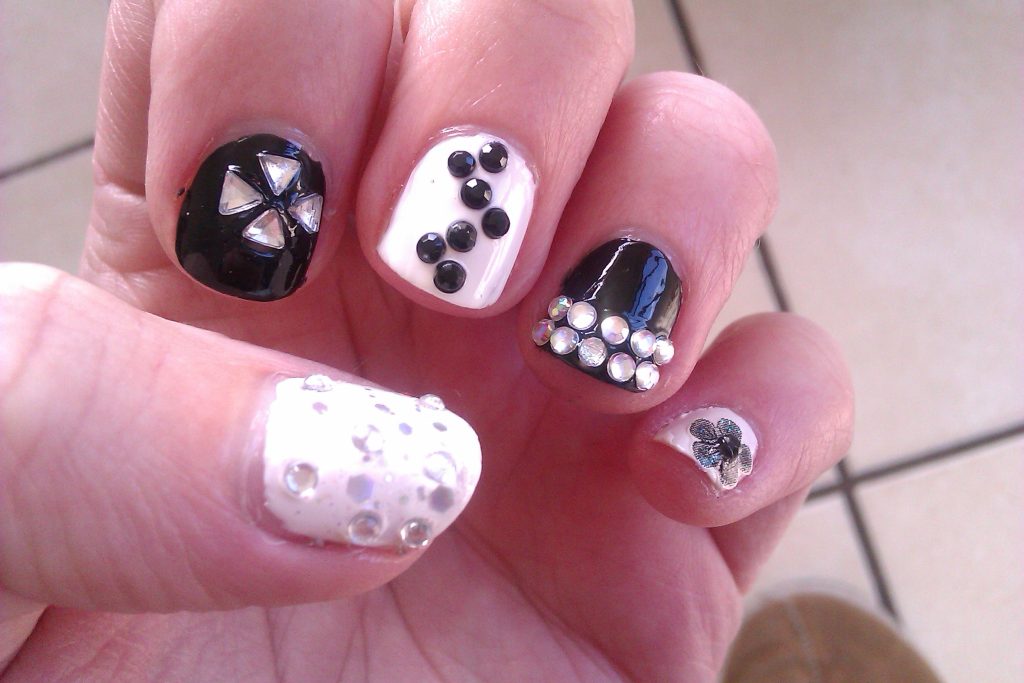
Sometimes less is more, and this casual-cool design proves it. The random placement of just a few pearls creates an effortless, modern look.
- Apply your base color to all nails
- Choose just your ring finger and thumb for pearls
- Place 3-4 pearls randomly on each chosen nail
- Make sure no pearls are too close to the edges
- Lock them in with two layers of top coat
Ensure that you keep the pearls away from areas where you often touch things. This helps your design last longer.
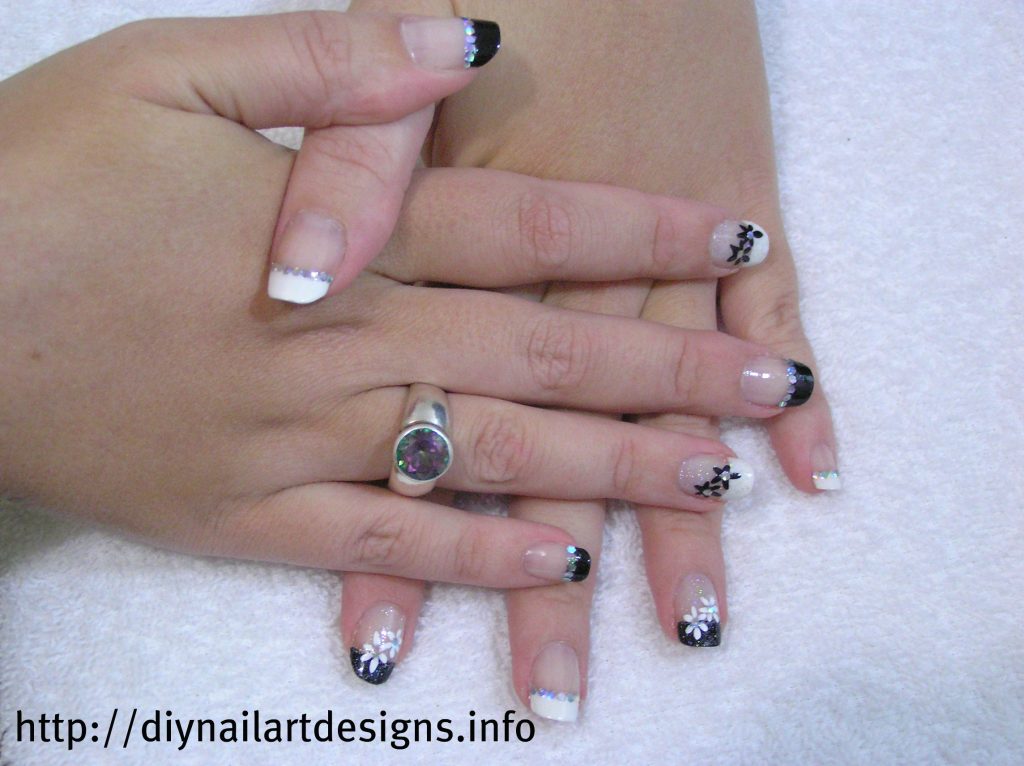
3. The Pearl French Tip
This upgraded French manicure adds a luxe twist to a classic style. It’s fancy enough for special occasions but still subtle enough for everyday wear.
- Paint all nails with a sheer pink base
- Add traditional white tips
- Place the pearls where the white tip meets the pink
- Space the pearls closer together than in other designs
- Seal with extra top coat around the tip area
Remember that the thicker the top coat, the less likely your pearls are to catch on things while you’re going about your day.
Tips for Making Your Pearl Nails Last

Getting the pearls to stay put is probably your biggest concern. Here’s how to make your design last:
Tip 1: Master the Top Coat Technique
Choose a thick top coat specifically made for nail art and apply it generously over and around each pearl.
Make sure to seal all edges completely, then wait five minutes between layers. Then, add a second coat for extra protection, and don’t rush this step.
Tip 2: Create a Strong Foundation
Put a small drop of clear polish where you want the pearl and place it while the polish is still wet. Wait until it’s completely dry, about 3-5 minutes, before sealing with a top coat.
The wet polish acts like glue, keeping your pearls secure even through daily activities.
Tip 3: Perfect Your Sealing Strategy
Start with a thin layer of top coat, focusing on sealing the edges around each pearl. Wait for each layer to dry before adding a second layer, extending slightly beyond the first. Then, finish with a full-nail top coat for maximum protection.
Mixing Pearl Nails with Other Designs
Pearl nails work surprisingly well with other nail art trends. Try combining them with:
1. Negative Space
Negative space designs look amazing with strategic pearl placement. Leave parts of your nail bare, add geometric patterns in your chosen polish, and then accent with pearls at the intersection points.
2. Ombre Background
Ombre backgrounds make pearls pop even more. Create a subtle gradient from white to pale pink, then add pearls where the colors blend. This creates depth and makes the whole design more interesting.
3. Matte Top Coat
Matte top coats can transform the entire look. Paint your nails with regular polish, add pearls, seal with a regular top coat, then finish with a matte top coat everywhere except the pearls.
This contrast between matte and shine looks incredibly sophisticated.
Common Mistakes to Avoid
Before you start your pearl nail journey, watch out for these typical first-timer mistakes:
- Going overboard with design complexity when starting out
- Adding too many pearls makes nails feel heavy and awkward
- Not waiting for each layer to dry completely
- Rushing the base coat application
- Skipping the proper sealing technique for pearls
- Using low-quality top coat that doesn’t secure pearls well
- Placing pearls too close to the nail edges
- Not checking for smooth edges after sealing
When it comes to pearl nails, less is often more. So, start with simple designs and make sure every pearl is sealed with top coat. Once you’ve mastered the basics, you can work your way up.
When to Skip the DIY
Some pearl nail designs are better left to professionals. If you want intricate patterns or need your manicure to last for a special event, booking an appointment may be worth it.
Professional nail artists have access to better adhesives and more practice with placement techniques.
Ready for Compliments?
Pearl nails aren’t going anywhere soon. They’re versatile enough to work for any occasion and unique enough to stand out.
So, whether you’re doing them at home or heading to a salon, pearl nails gives you a perfect balance of classic and current.

Hi, I’m Kate, a DIY enthusiast with a passion for creative nail designs. When I’m not caring for my herb garden or spending time with my two dogs, I’m trying out fresh nail colors and designs. I love mixing up my look with bold nails and accessories, and I’m excited to share my tips and ideas with others who enjoy a bit of DIY flair in their routine.