Table of Contents
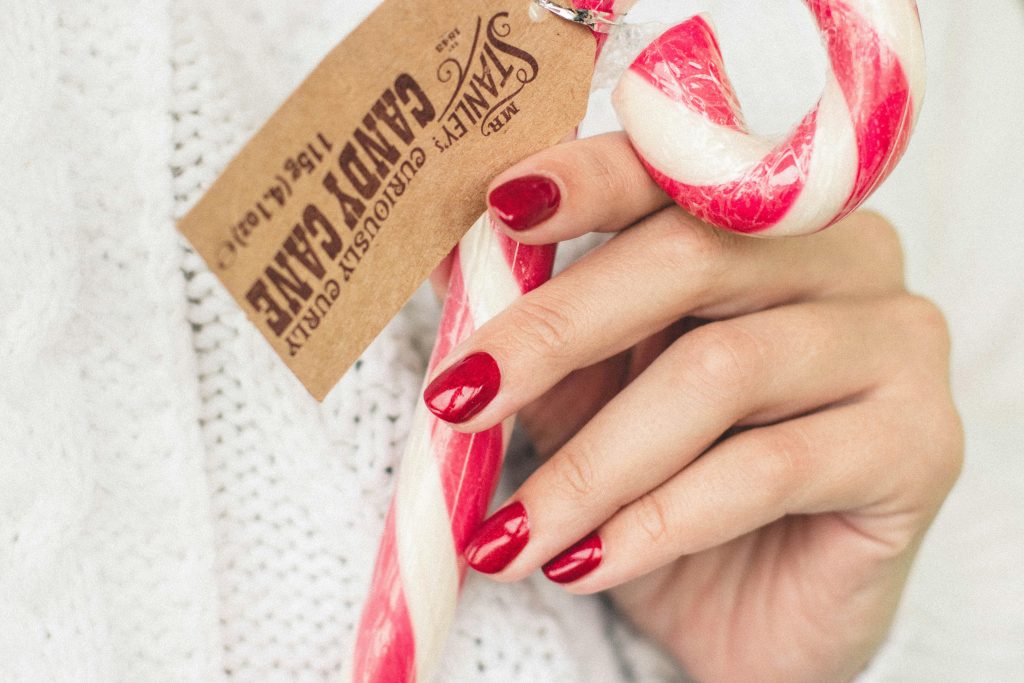
Getting ready for holiday parties means picking the perfect outfit, doing your hair, and of course, having gorgeous nails to match the festive mood.
But booking a salon appointment during the busy holiday season can be tricky, not to mention expensive.
The good news is you can create stunning holiday nail designs right at home with basic tools and a bit of practice. Check out these holiday party-ready nails: 5 festive looks you can DIY with simple steps and tips to follow.
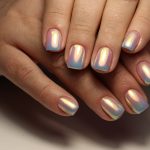
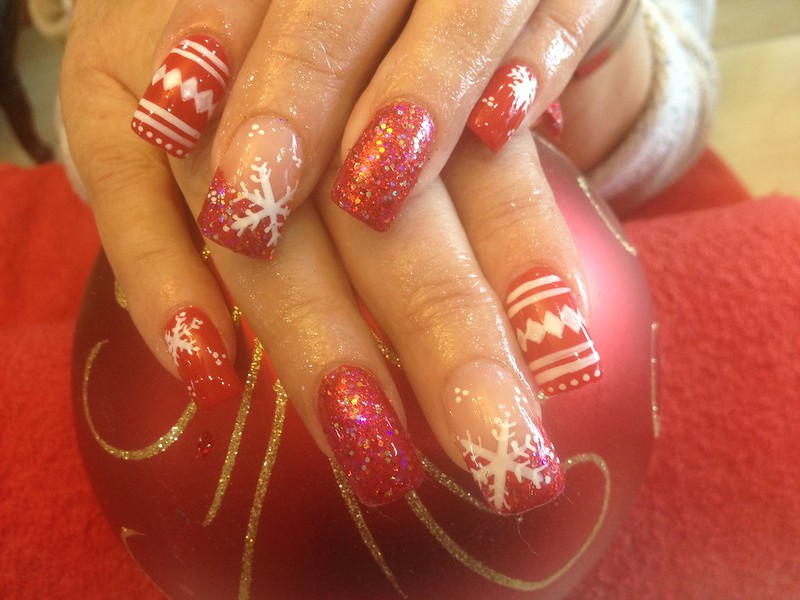
Top 6 DIY Nail Looks That Are Perfect for the Holidays
These stunning nail designs blend classic holiday elements with modern style, and you can create them right at home.
1. Sparkling Snow Globe

Turn your nails into tiny winter wonderlands that sparkle with every movement. This design is perfect for anyone who loves a bit of glamour with their holiday style.
Here’s how to achieve this:
- Apply a deep blue or midnight blue base coat evenly
- Wait until completely dry (about 5-7 minutes)
- Using a dotting tool or toothpick, create small white dots randomly across the nail
- Add a few larger dots to vary the “snowflake” sizes
- Seal with a thick layer of glitter top coat
- Apply a second layer of top coat for extra shine and protection
Even if your dots aren’t perfect, they’ll blend right into the snowy scene. Plus, the more uneven they are, the more natural your snow globe effect looks.
2. Classic Holiday Sweater
Channel your favorite cozy winter sweater with this charming nail design. It’s easier than it looks and it never fails to get compliments at holiday gatherings.
Here’s how to achieve this:
- Start with a cream or white base coat
- Let it dry completely (about 5 minutes)
- Using a thin nail art brush, paint simple red lines
- Add green crosses or dots between the lines
- For beginners: create alternating dots in holiday colors
- Seal with a clear top coat
Can’t get the lines straight? No worries. Switch to simple dots in festive colors. They’re just as cute and much more forgiving.
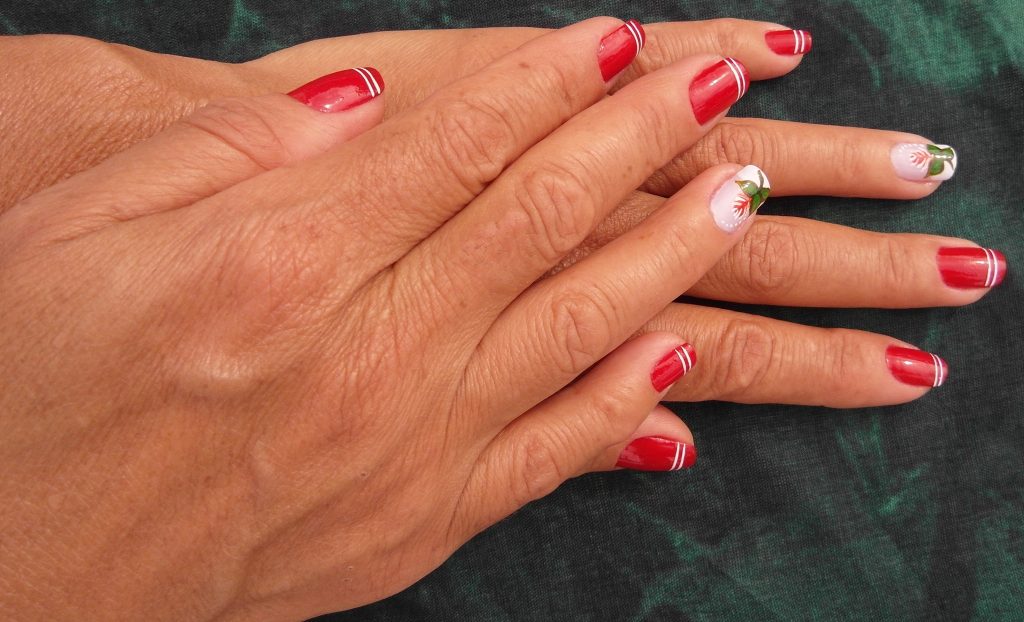
3. Candy Cane Stripes
These sweet stripes bring instant holiday cheer to your fingertips. The key is patience with your base coat and steady hands with the tape.
Here’s how to achieve this:
- Apply white polish as your base
- Wait until completely dry (at least 10 minutes)
- Cut thin strips of striping tape or regular tape
- Place strips diagonally across nails
- Paint over with red polish
- Remove the tape immediately while the polish is wet
- Finish with a clear top coat
Your stripes will look crisp and professional if you wait for each layer to dry properly.
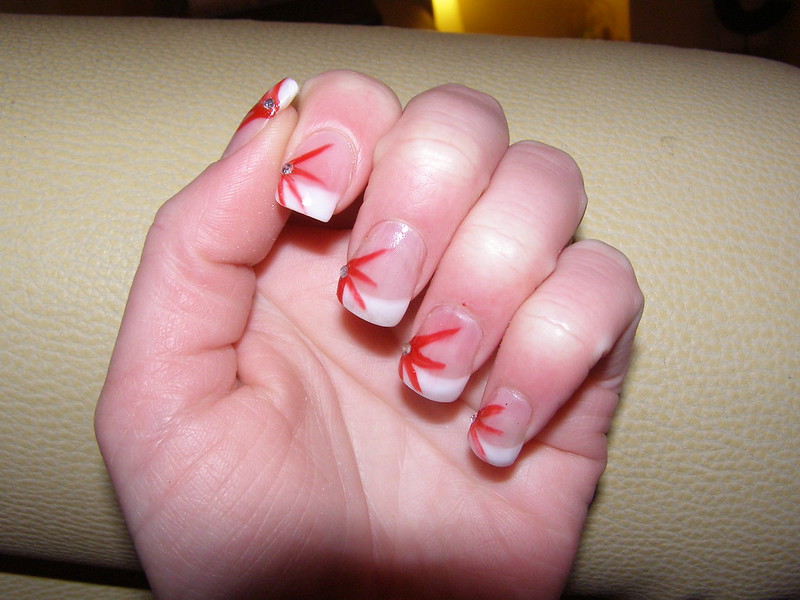
4. Golden Tinsel Tips
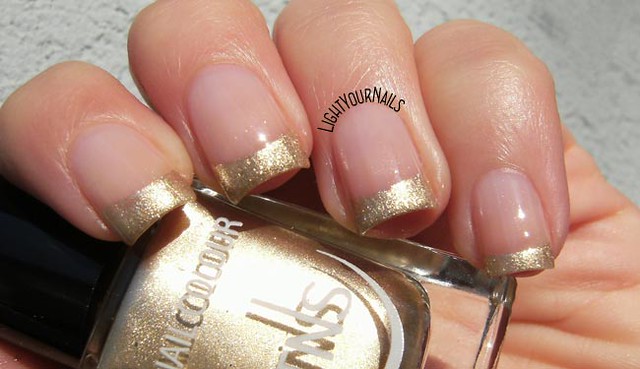
Get ready to add some sparkle to your tips with this subtle yet stunning design. It’s perfect when you want to look festive without going overboard.
Here’s how to achieve this:
- Apply your chosen neutral polish as base coat
- Wait for it to dry completely (about 5-7 minutes)
- Using a thin brush, paint random gold lines at the tips
- Make the lines different lengths for a natural tinsel look
- Keep some lines straight and others slightly curved
- Add a clear top coat to seal
For an easier version, simply dab gold glitter polish at the tips and blend it down slightly. It creates the same festive vibe with minimal effort.
5. Minimalist Christmas Trees
This modern take on holiday nails works beautifully on any nail length. It’s sophisticated enough for office parties but festive enough for family gatherings.
Here’s how to achieve this:
- Paint nails with a pale gray or white base coat
- Allow to dry fully (about 5-7 minutes)
- Using a thin brush, create small triangle shapes with gold polish
- Add tiny dots as ornaments if desired
- Paint trees on all nails or just one accent nail
- Seal with top coat.
Want to switch it up? Try silver trees on a dark base, or add tiny star toppers to your trees with a dotting tool.
6. Bonus: Frosted Berry Accent
Here’s a sophisticated design that captures winter’s beauty without screaming “holiday nails.” It’s perfect for those who prefer subtle festive touches.
Here’s how to achieve this:
- Start with a sheer pink or nude base
- Let dry completely (about 5 minutes)
- Add small red dots for berries on one or two nails
- Use white polish to add tiny highlights to the berries
- Paint small green leaves using a thin brush
- Add a matte top coat for a frosted look
The matte finish gives this design an elegant, wintry feel that works well beyond the holiday season.
Your Essential DIY Holiday Nail Kit
Before starting any of these designs, make sure you have the right tools:
- A good base coat and top coat
- Basic polish colors: red, green, white, gold
- At least one glitter polish
- Thin brushes for detailed work
- Striping tape or regular tape
- Toothpicks for dots and small details
- Cotton swabs and nail polish remover for cleanup
Quick Tips for Perfect Holiday Nails
Getting the perfect holiday nails is not just about the design; prep work and patience matters too. Here are some tips to help you nail your festive manicure.
Tip 1: Create thin, even base coat layers instead of one thick coat for better staying power
Tip 2: Wait at least 5 minutes between layers, even if the polish seems dry
Tip 3: Keep a few cotton swabs dipped in nail polish remover nearby for quick fixes
Tip 4: Work in a well-ventilated area with good lighting for better control and results
Tip 5: Start with clean, oil-free nails for better polish adhesion
Tip 6: Use glitter polish strategically – it’s great for hiding small imperfections
Tip 7: Apply cuticle oil after your nails are completely dry to keep the design looking fresh
Tip 8: Paint your dominant hand first when it’s steady and has more control
Tip 9: Never shake your polish bottles – roll them between your palms instead
Tip 10: Always cap the free edge (tip) of your nail with polish to prevent chipping
Storage and Longevity
To make your holiday nail art last through multiple parties:
- Seal your design with two layers of top coat.
- Store your nail polish in a cool, dark place, and
- Always roll the bottle between your hands instead of shaking it to prevent bubbles in your polish.
- Keep the rim of your bottles clean with nail polish remover to prevent them from getting stuck.
Creating Your Holiday Magic
These designs are just starting points, so feel free to mix and match elements or create your own variations. The key is having fun with it because even professional nail artists began somewhere. So, put on your favorite holiday music, grab your supplies, and experiment.

Hi, I’m Kate, a DIY enthusiast with a passion for creative nail designs. When I’m not caring for my herb garden or spending time with my two dogs, I’m trying out fresh nail colors and designs. I love mixing up my look with bold nails and accessories, and I’m excited to share my tips and ideas with others who enjoy a bit of DIY flair in their routine.