Table of Contents
Want to know what’s better than a perfect manicure? One that goes with everything in your closet.
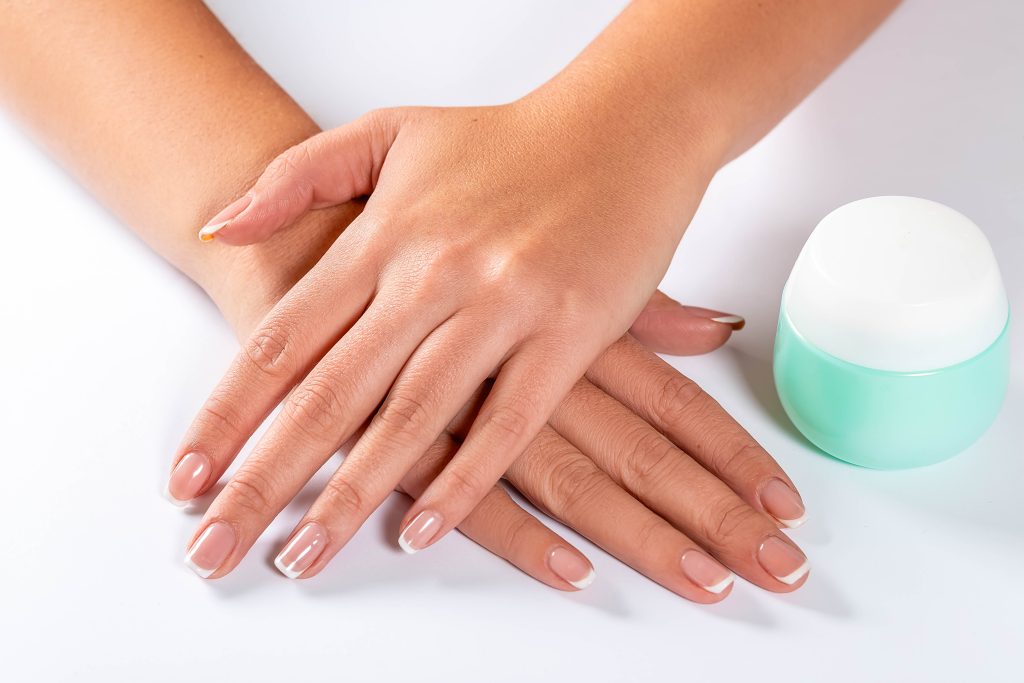
Clear nail designs are having their moment, and for good reason.
They’re clean, sophisticated, and customizable. Plus, they work for every occasion, from Monday meetings to weekend weddings. These clear nail designs: the ultimate guide to stunning natural-looking nails will transform your nails and turn heads.
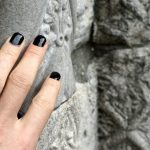
Why Clear Nails are Taking Over
Clear nails aren’t just plain transparent polish anymore; they have a major upgrade.
You can get creative twists that make them perfect for both minimalists and those who want something extra. Also, they’re super low-maintenance (goodbye, obvious chip marks) and make your hands look classy.
The best part? You can do most of these designs at home. All you need is clear polish, a few basic tools, and some patience. Even better, clear designs hide small mistakes way better than colored polish does.
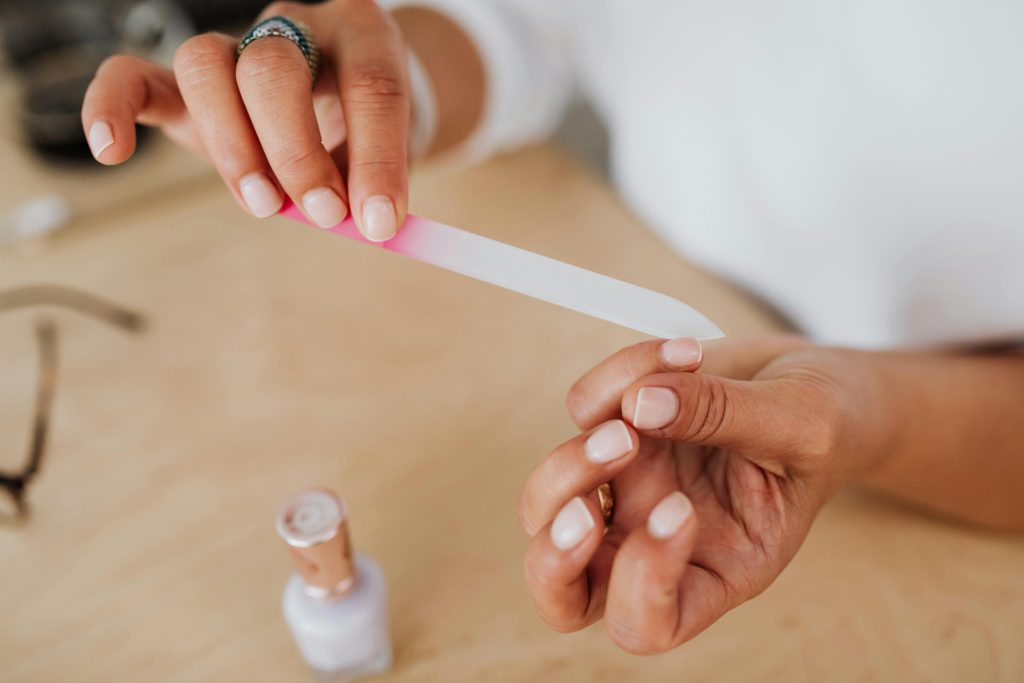
Getting Started: The Basics You Need
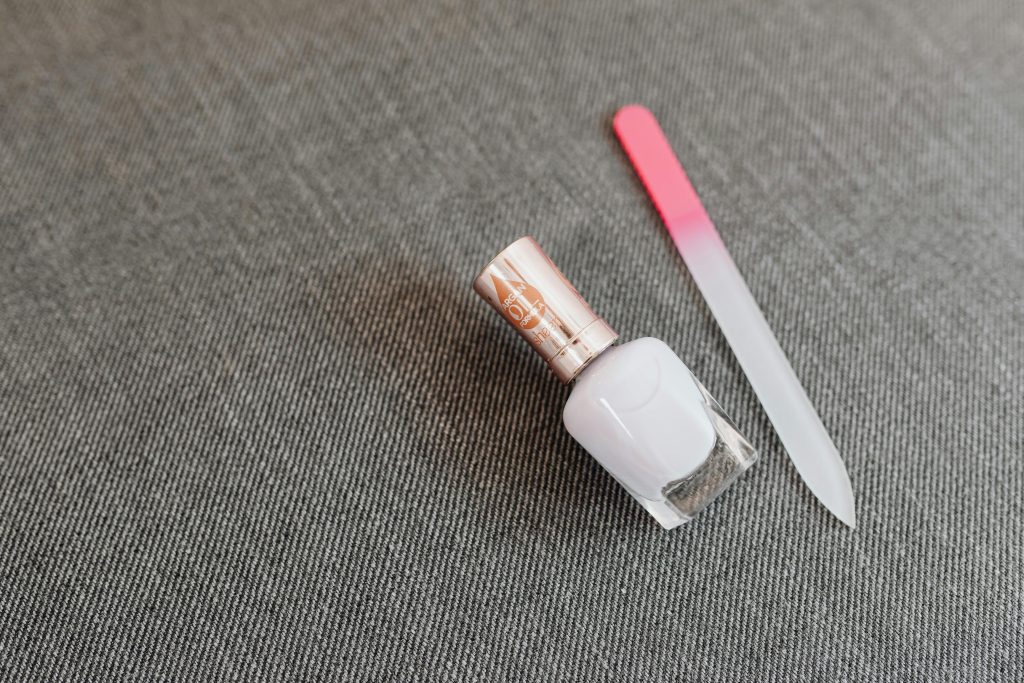
Before jumping into designs, getting the basics right makes all the difference. Here’s what you’ll need:
- Clear base coat: A good clear base coat is your foundation. Skip this step, and your design won’t last nearly as long.
- Clear top coat
- Small brush for details, and
- Whatever extras your chosen design needs (gems, stickers, or glitter).
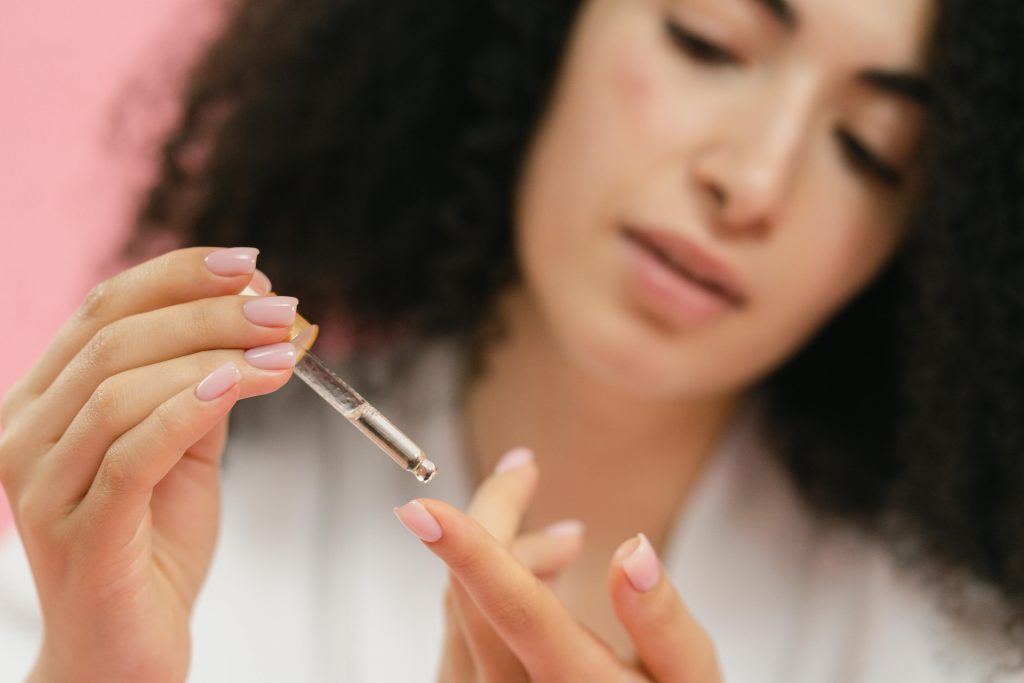
Ensure that you get a quality clear polish. It should be thick enough to give good coverage but thin enough to dry properly. Some cheap clear polishes turn yellowish after a few days, so it’s worth spending a bit more here.
Also, having everything ready before you start saves time and keeps your work area organized.
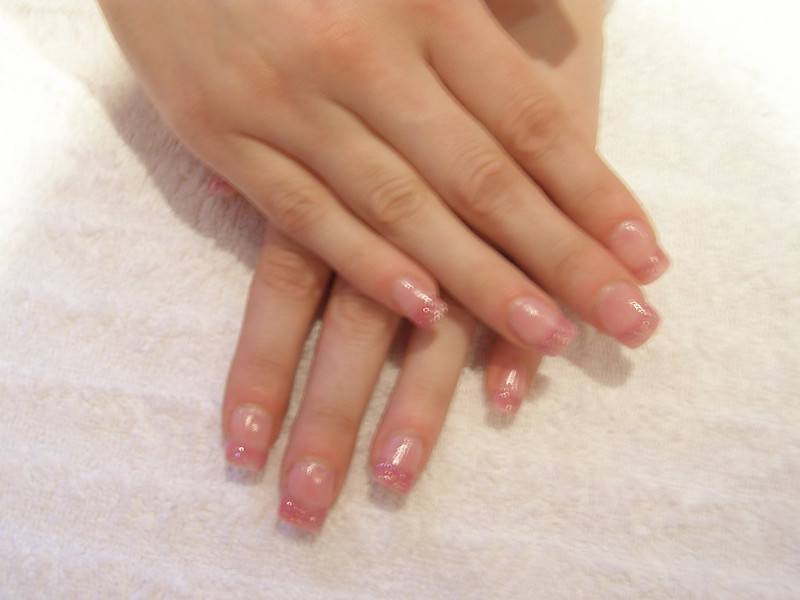
Simple But Stunning Clear Nail Ideas
These clear nail designs are easy enough for beginners but look professionally done. Each style adds its special touch while keeping that clean, polished look we all want.
1. Glass Effect
This look gives your nails a crystal-clear shine that catches light beautifully. Apply two thin coats of clear polish and wait between each layer.
The key is patience. Rushing means bubbles, and bubbles ruin the glass effect. Once it’s dry, add a super-shiny top coat for that perfect glass finish.
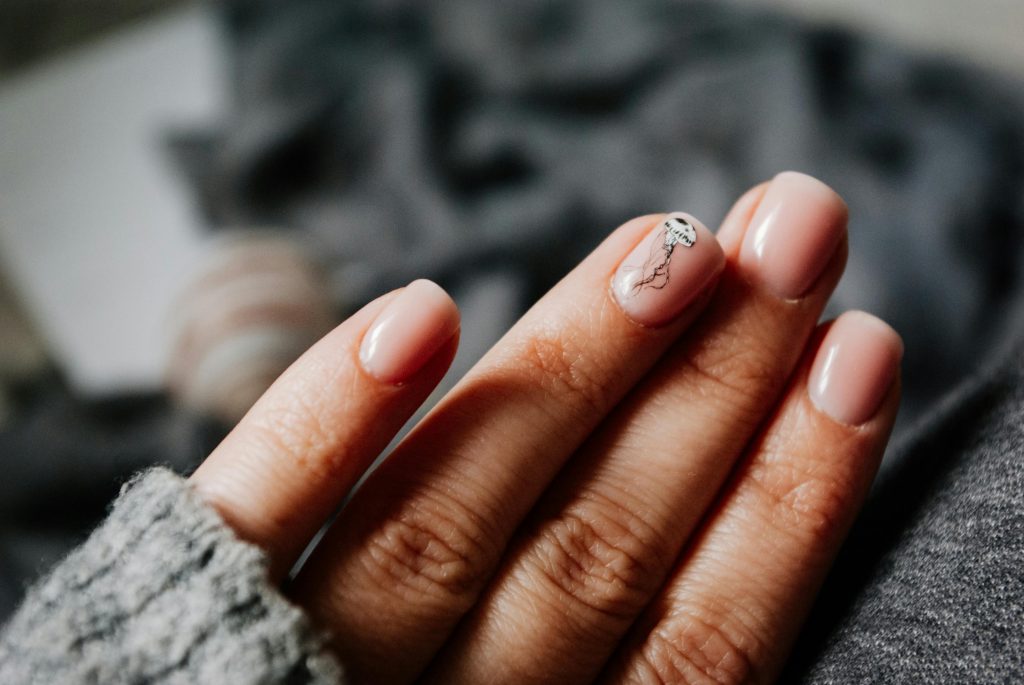
2. Negative Space
This trend keeps getting more popular because it’s both striking and simple. Leave parts of your nail bare and create patterns with clear polish.
The contrast between the natural nail and glossy clear sections creates amazing depth. Start with simple geometric shapes like diagonal lines or half-moons.
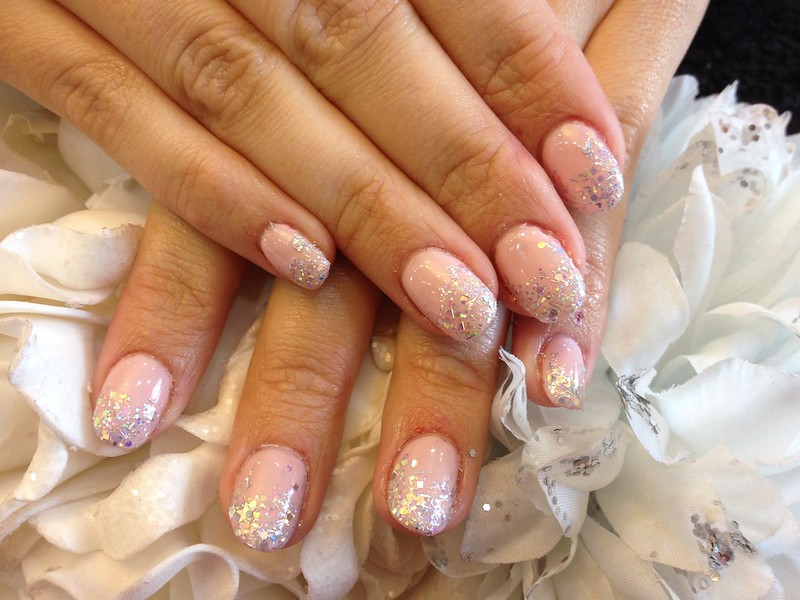
3. Crystal Tips
Think French manicure but cooler. Instead of white tips, use clear polish with a touch of glitter. Paint the tips as you would for a French manicure, but add fine glitter to your clear polish first.
This creates a subtle sparkle, perfect for special occasions but not too flashy for everyday wear.
1. Minimalist Line Work
Using a thin brush, create simple lines or geometric patterns with clear polish over a natural nail.
The subtle shine difference between your nail and the polish creates a beautiful, understated effect. Make sure you keep the lines clean and simple because less is more here.
2. Pearl Effect
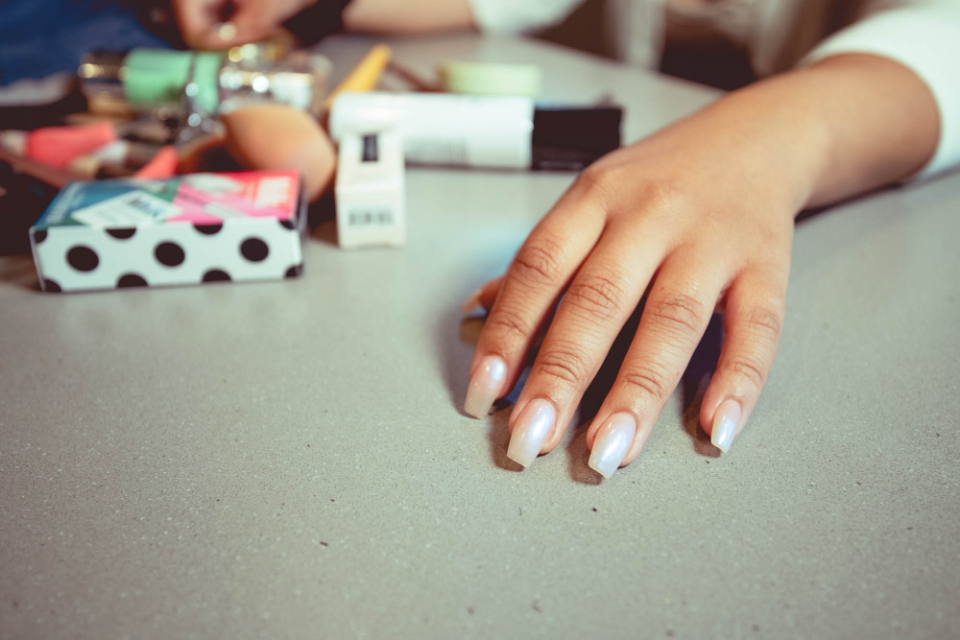
Here, mix a tiny bit of pearl powder into your clear polish for a gorgeous shimmer.
This works especially well when you want something between totally clear and sparkly. The pearl effect changes slightly under different lighting, so it’s interesting without being overwhelming.
3. Clear with Glitter Placement
This technique involves placing individual glitter pieces in clear polish. Sound fussy? It’s actually pretty simple.
Apply a layer of clear polish, place your glitter pieces while wet, and then seal with another clear coat. The random placement looks more natural than pre-mixed glitter polish.
Making Your Clear Design Last
You’ve done the work, and now it’s time to make sure it stays perfect for as long as possible.
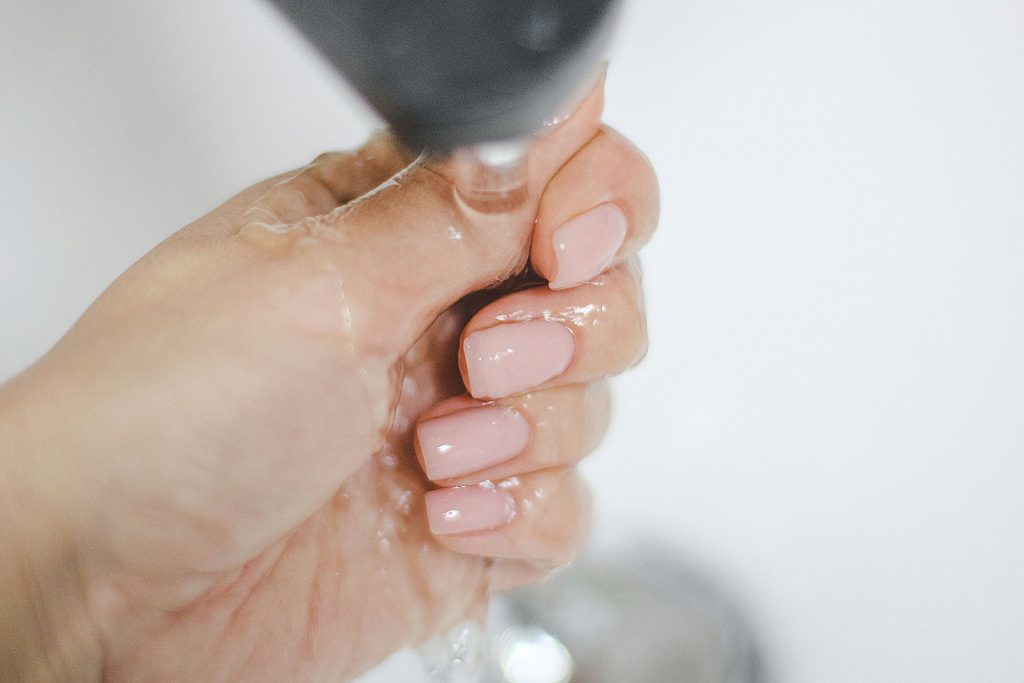
1. Clean Nails Are Essential
Your nails need to be super clean before you start. Any bits of oil, hand cream, or even natural oils from your skin will stop the polish from sticking properly. Give them a good wipe with nail polish remover, even if they look clean.
2. Apply Thin Layers Only
Forget what you know about quick, thick coats. Thin layers are your best friend here.
Yes, you may need three coats instead of two, but your nails will dry faster, and the polish won’t get those annoying bubbles. Plus, thin layers are less likely to peel off in chunks.
3. Don’t Skip the Free Edge
Here’s a game-changer: run your brush along the tip of each nail with every layer. Think of it like sealing an envelope. You’re closing off the edge so water and wear can’t get under your polish. This small step can add several days to your manicure.
4. Seal It All With Top Coat
Your top coat needs to cover every bit of polish, including that free edge we just talked about. Make sure you get a good, even layer all over. Think of it as a shield – it needs to cover everything to work properly.
Common Problems and Quick Fixes
Every manicure has its moment, but these simple solutions will keep your nails looking fresh.
1. Cloudy Polish Problems
If your clear polish looks foggy, it’s usually because water is trapped between layers. Wait until each coat is completely dry before adding the next one. Running a fan or using quick-dry drops can speed things up without ruining your work.
2. Bubble Troubles
Those tiny bubbles in your polish aren’t cute. They usually show up when you shake the bottle (roll it between your hands instead) or when your polish is getting old.
If you see bubbles forming while you work, try keeping your hands away from heat or fans until the polish sets.
3. Yellow Tinge
Nobody wants their clear polish to turn yellow. This usually happens from too much sun or harsh cleaning products. Using a top coat with UV protection helps stop this. If you clean a lot, wearing gloves is your best defense.
4. Sticky Situation
Sometimes, clear polish stays tacky even after it seems dry. This usually means the layers are too thick or the polish is old.
Next time, use thinner coats and make sure your polish isn’t past its prime. Most nail polish is good for about two years after opening.
Your Clear Nails, Your Way
Clear nail designs prove that sometimes less really is more. They’re clean, sophisticated, and way more versatile than you’d think. The best part? They grow out gracefully, so even when they’re not fresh, they still look good.

Hi, I’m Kate, a DIY enthusiast with a passion for creative nail designs. When I’m not caring for my herb garden or spending time with my two dogs, I’m trying out fresh nail colors and designs. I love mixing up my look with bold nails and accessories, and I’m excited to share my tips and ideas with others who enjoy a bit of DIY flair in their routine.