
Table of Contents
Getting gorgeous ombre nails doesn’t need to cost half your weekly coffee budget. After countless tries, I’ve finally cracked the code to achieve that perfect fade at home.
Don’t worry, you don’t need any professional tools. So, if you’re ready for your special at-home ombre nails, here’s the simple tutorial you need.
Essential Supplies

Before starting, gather these basic items that you probably already have:
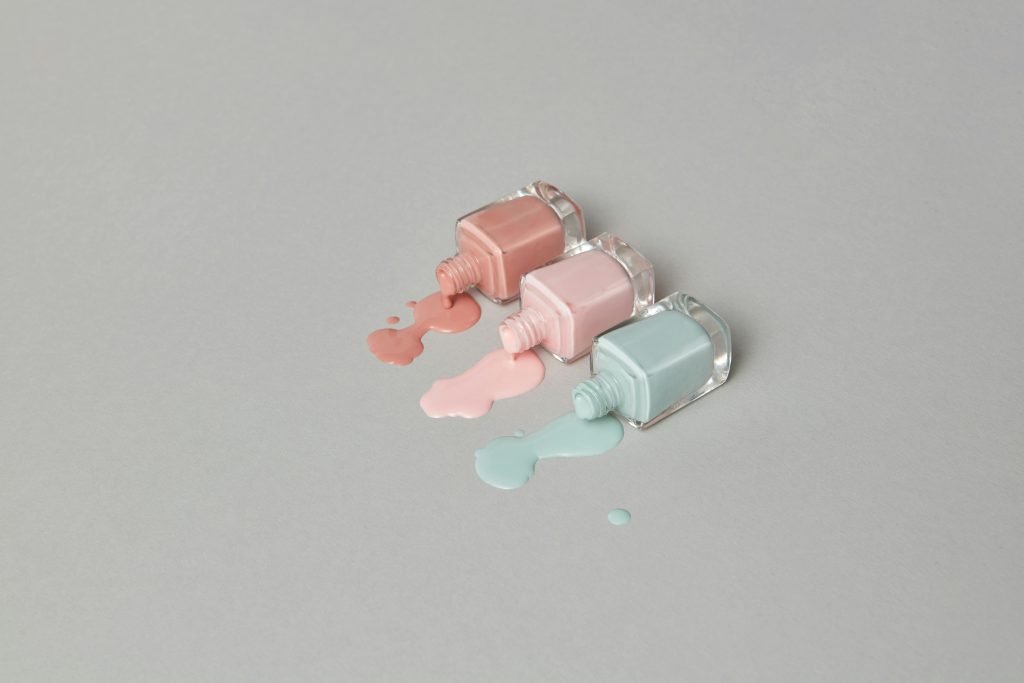
- Two nail polish colors that complement each other (light and dark shades work best)
- A makeup sponge (the regular triangular ones work perfectly)
- Clear base coat and top coat
- Nail polish remover
- Cotton swabs for cleanup
- Small piece of aluminum foil or paper plate
- Cuticle oil
7-Step Tutorial for At-Home Ombre Nails
Getting your ombre nails right is all about following the steps in order, so let’s break down exactly what you need to do.
Step 1: Prepare Your Nails
Start with completely clean nails – remove every trace of old polish using nail polish remover. Gently push back your cuticles with an orange stick or cuticle pusher. If your cuticles are dry, add a tiny drop of cuticle oil.
Next, file your nails into your preferred shape, whether that’s square, round, or somewhere in between.
Run your finger over each nail’s edge to check for any rough spots that need smoothing out. Your nails should feel completely smooth.
Step 2: Apply Base Coat

Think of base coat as your nail’s best friend. Paint a thin, even layer across each nail, making sure to cover the entire surface.
Don’t forget to run the brush along the tip of your nail to prevent chipping later. Give it about 2-3 minutes to dry completely. You’ll know it’s ready when the surface doesn’t feel tacky anymore.
Step 3: Set Up Your Workspace

Find a flat, stable surface with good lighting. Pour a small puddle (about the size of a dime) of each polish onto your foil or paper plate.
Keep the colors about an inch apart so they don’t mix accidentally. If your polish seems thick, add a tiny drop of thinner because thick polish won’t blend well on the sponge.
Step 4: Prepare the Sponge
Here’s where things get fun. Using the flat side of your makeup sponge, quickly dab into the lighter color first, then immediately into the darker shade so they slightly overlap.
The overlap area should be about as wide as a grain of rice. Test it on your foil first. You should see three distinct sections: light color, blended middle, and dark color.
Step 5: Apply the Colors
Hold the sponge at a slight angle, with the lighter color at your cuticle. Press it gently against your nail and roll it slightly toward the tip. Don’t worry if you get polish on your skin, we’ll clean that up later.
Wait about 30 seconds between layers. You’ll probably need 2-3 layers to get that perfect fade. The gradient should look smooth, with no harsh lines between colors.
Step 6: Clean and Perfect

Now for the satisfying part. Dip a small brush or cotton swab in nail polish remover and carefully clean around your nails. Work slowly around the cuticle area where most of the mess usually is.
If you spot any gaps in your gradient, this is the time to touch them up with another light sponge application.
Step 7: Seal Your Work
The top coat is your magic eraser for any remaining texture from the sponging.
Apply a generous layer, but not so much that it pools around your cuticles. Start in the middle of your nail and push the brush toward the tip, then go back and cover the bottom half.
Then, run the brush along the very tip of your nail – this “caps” the free edge and helps your manicure last longer. Give it a good 5-10 minutes to dry completely.
Pro Tips for Perfect Results

Here are some tips I’ve learned after countless ombre nail attempts. They’ll help you avoid the common mistakes and get better results.
Tip 1: Practice First
Before touching your nails, create a few practice gradients on your foil or paper plate to get comfortable with the sponging motion.
Pay attention to how much pressure you need and how the colors mix when you overlap them. This quick test run can save you from having to start over on your actual nails.
Tip 2: Protect Your Skin
Wrap a thin strip of clear tape around each finger, leaving just your nail exposed, or paint liquid latex around your nails if you have it.
This protective barrier catches all the excess polish from sponging, so instead of spending ages on cleanup, you simply peel off the tape when you’re done.
Tip 3: Perfect Your Gradient
The secret to a natural-looking fade is in the transition area between your two colors. Aim for it to take up roughly the middle quarter of your nail.
If the transition area is too small, you’ll get a harsh line; too large and you’ll lose the ombre effect completely.
Tip 4: Build Gradually
Rather than trying to get full coverage in one go, build up your gradient with 2-3 light layers, waiting about 30 seconds between each one.
This approach gives you more control over the final look and prevents that chunky, textured finish that can happen when you apply too much polish at once.
Maintaining Your Ombre Nails

Here’s how to keep your ombre manicure looking fresh and chip-free for up to two weeks.
1. Keep Your Cuticles Happy
Massage a drop of cuticle oil into each nail bed every morning and night to prevent peeling and maintain healthy nail growth. Remember to gently work the oil around your nail’s edges too, where chipping often starts.
2. Protect Your Polish
Always wear rubber gloves when doing dishes, cleaning, or working with water. Hot water is your manicure’s worst enemy. It lifts the polish from your nails and can cause early chipping, especially in the first 24 hours after application.
3. Time Your Showers Right
Wait at least 6 hours after applying your ombre manicure before taking a hot shower or bath. Even with a good top coat, your polish needs time to fully harden, and heat can cause bubbling or lifting in freshly painted nails.
Your Perfect Ombre Awaits
Creating beautiful ombre nails at home takes a bit of practice, but the results are worth it. This tutorial will help you create professional and unique ombre nails. With constant practice, you’ll soon be trying different colors to match any outfit or occasion.

Hi, I’m Kate, a DIY enthusiast with a passion for creative nail designs. When I’m not caring for my herb garden or spending time with my two dogs, I’m trying out fresh nail colors and designs. I love mixing up my look with bold nails and accessories, and I’m excited to share my tips and ideas with others who enjoy a bit of DIY flair in their routine.


