Table of Contents
Tired of shelling out $50 every few weeks for a manicure? I get it. After years of bi-weekly salon visits, I finally cracked the code to perfect nails at home.
These practical at-home manicure hacks will transform your manicure game and your wallet will thank you.
From nail prep to polish application, trust me, once you master these tricks, you’ll never look back.
Manicure Hacks for the Perfect Prep
Your nails need serious TLC before any polish goes on. Skip this step, and you might as well throw your money away on quick-chip polish. Here’s what the pros don’t tell you:
1. Water Soak
Soak your hands in warm water mixed with a splash of white vinegar for 5 minutes. The vinegar strips away oils and residue that make polish peel off faster.
Pat your hands completely dry – any moisture left will ruin your manicure before it starts.
2. One-way Filing
I always advise people to file in one direction only. The back-and-forth sawing motion you’re probably doing? That’s why your nails keep splitting.
Think of filing like petting a cat. One way only, with medium pressure.
And here’s something most people miss: the angle of your file matters. Hold it slightly underneath your nail edge for the smoothest finish.
3. Clean Cuticles Equals Clean Lines
Here’s the truth about cuticles: you don’t need fancy tools or aggressive pushing. Massage a drop of olive oil into each cuticle, wait 30 seconds, then gently push back with a washcloth corner.
The real secret most nail techs won’t share? The best time to deal with cuticles is actually right after washing dishes.
The warm water and soap naturally soften them. This makes them easier to manage without harsh chemicals.
For stubborn cuticles, try this: after your shower, when the skin is soft, wrap the wooden end of your tool in cotton and push back gently.
The cotton provides just enough grip without the risk of damage.
Base Coat Manicure Hacks
The base coat makes or breaks your manicure. But here’s what changes everything:
1. Clean Your Nail
Wipe each nail with white vinegar on a cotton ball right before your base coat. This removes every trace of oil and helps the polish stick like glue.
2. Thin Application
Apply your base coat as thin as possible. Thick layers lead to bubbling and peeling. The real magic happens when you let it dry completely. Set a timer for 2 minutes. No cheating.
While you wait, keep your hands flat and still. Even small movements can create tiny air bubbles that will ruin your finish.
3. Cold Water Dip
Most people skip this crucial step: between base coat layers (yes, you should do two!), run your nail under cold water for 10 seconds.
This sets the first layer and creates an even stronger foundation for your color.
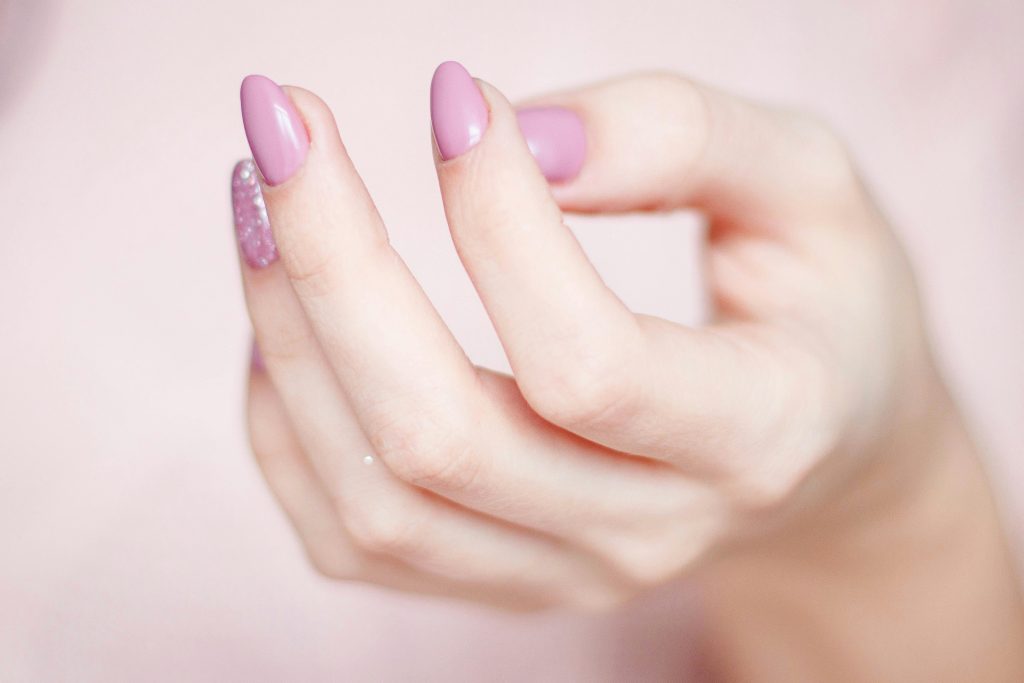
Nail Polishing Hacks

Nail polishing is a skill and art so don’t just do it carelessly. Here are some ways to polish like a pro:
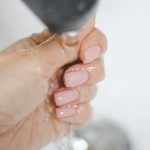
1. Three-Stripe Polish Rule
Perfect polish application comes down to three stripes: one down the middle, and one on each side.
Anything more creates thick, bumpy layers that take forever to dry and chip easily.
2. Optimal Paint Volume
Load your brush with just enough polish that it makes a tiny bead at the tip. Start at the base of your nail, about 2 millimeters from your cuticle.
The polish will naturally spread toward the cuticle, giving you that perfect curved line without flooding your skin.
3. Apply Adequate Pressure
The pressure you use matters more than you think. Apply the first coat with barely-there pressure. Think butterfly wings light.
The second coat can be slightly firmer, but never press down. Let the polish do the work for you.
Quick-Dry Manicure Hacks
Now, that you’ve polished your nail, it’s time to let it dry. Here are some ways to quick-dry like a pro
1. Cold Water Dips
Forget those expensive quick-dry drops. Plunge your hands into a bowl of ice water for 3 minutes after your final coat.
The cold sets the polish instantly. Yes, it’s uncomfortable, but it works better than any spray or oil I’ve tried.
2. Cool Air
Another game-changer: blast your wet nails with cool air from your hair dryer for 2 minutes. The constant air flow helps the solvents evaporate faster than air-drying alone.
But here’s the key: keep the dryer moving. Focusing too long on one spot can create ripples in your polish.
3. Cooking Spray
Want to know my secret weapon? After the ice water bath, spray your nails lightly with cooking spray.
The oil helps the polish set and adds incredible shine. Just remember to wash your hands an hour later.
How to Fix Mistakes Like a Pro
Here are some quick fixes for your at-home manicure so you don’t have to redo the entire process.
1. Messed up? Don’t start over. Wrap a thin strip of tape around your finger below the nail, leaving just the nail exposed.
Use this as a guide to clean up messy edges with a small brush dipped in polish remover.
2. For small smudges, lick your finger and gently smooth over the mark while the polish is still wet.
Sounds weird, but the saliva helps level out minor imperfections without removing the polish.
3. Got polish on your skin? Wait until it’s completely dry, then take a hot shower.
The polish will peel right off your skin without damaging your perfect manicure. This works way better than trying to clean it up while wet.
Tools That Are Worth The Money

You don’t need everything, but some tools make a huge difference. Invest in:
- A glass nail file (it lasts forever and files more smoothly than emery boards)
- A proper clean-up brush (art supply stores sell tiny detail brushes perfect for this)
- A good base coat (this is where splurging actually matters)
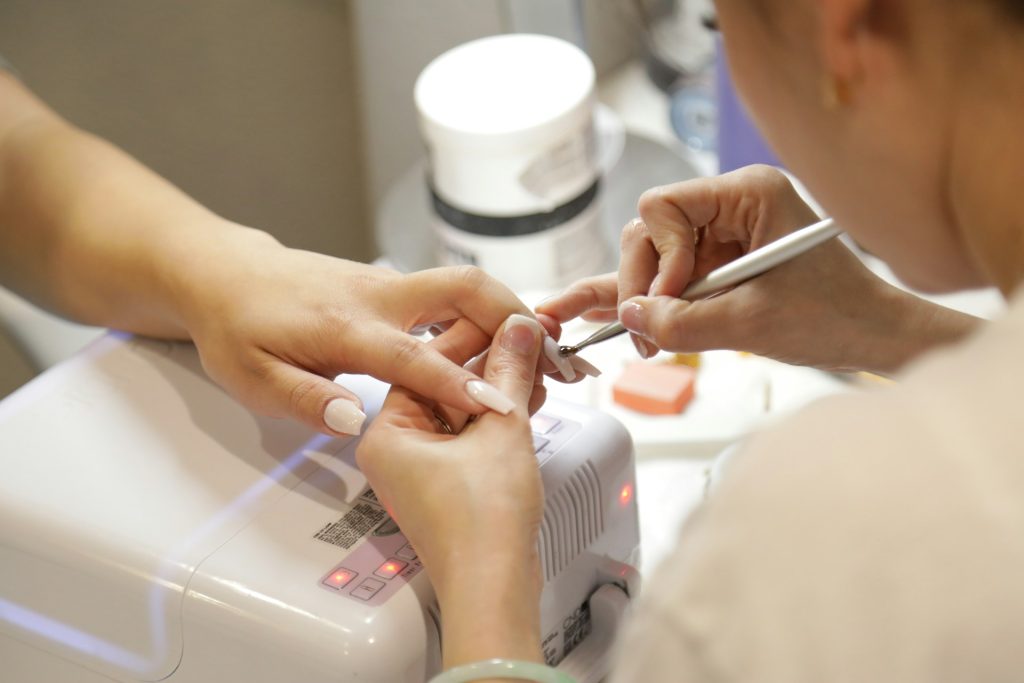
- LED lamp for gel polishes (if you’re serious about long-wear manicures)
If you can’t afford them, you can skip the fancy stuff like:
- Cuticle removers (olive oil works better)
- Quick-dry products (ice water is free)
- Ridge fillers (your base coat does the same thing)
- Most nail treatment products (they’re usually just clear polish with vitamins)
Time for Perfect At-Home Manicure
With these at-home manicure hacks and a little practice, you’ll get results that look professional every single time.
Remember, perfect nails are about patience, proper prep, and these trusted hacks. Your nail game is about to reach a whole new level, and your bank account will thank you.

Hi, I’m Kate, a DIY enthusiast with a passion for creative nail designs. When I’m not caring for my herb garden or spending time with my two dogs, I’m trying out fresh nail colors and designs. I love mixing up my look with bold nails and accessories, and I’m excited to share my tips and ideas with others who enjoy a bit of DIY flair in their routine.