Table of Contents
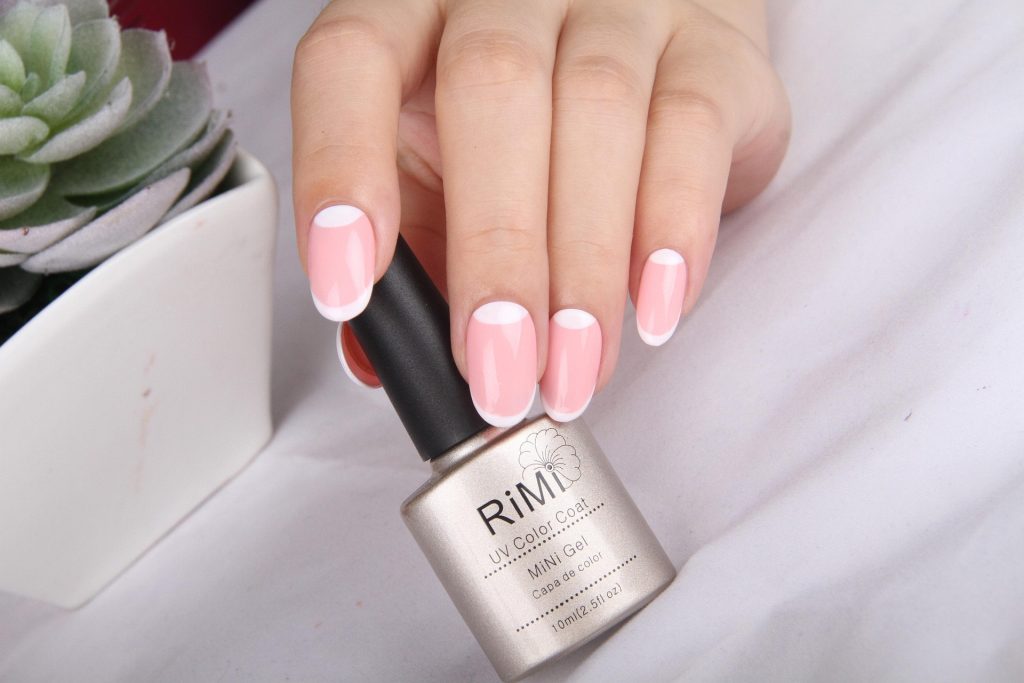
Want to turn heads with your nails? The reverse French manicure is the latest twist on the classic French tip that’s taking over social media.
Instead of white tips, this modern style has a half-moon design at the base of your nail. The best part? You can create this look right at home.
Here, I’ll show you how to master the reverse French manicure in 5 simple steps.
What You’ll Need
Before starting your reverse French manicure adventure, gather these items:
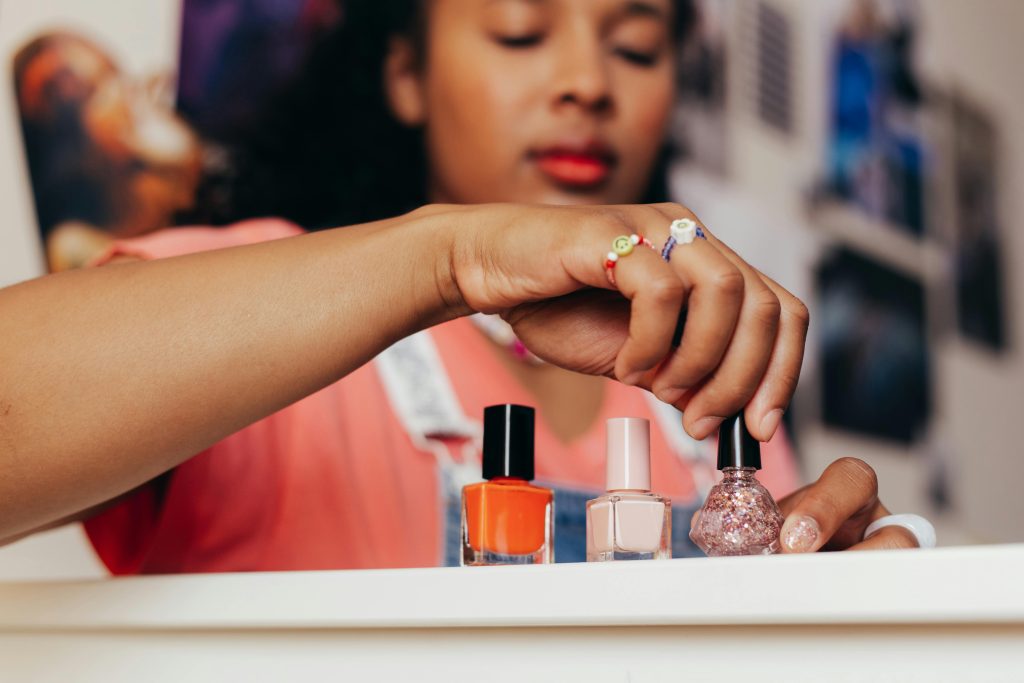
- Base coat
- Two nail polish colors (one for the base, one for the moon)
- Top coat
- Circular reinforcement stickers (the kind used for loose-leaf paper)
- Cotton swabs
- Nail polish remover
- Clean-up brush
- Cuticle oil
Prep Work: The Key to Perfect Nails
Your nail bed needs to be clean and ready before you start painting. Here’s what to do:
- Remove any old polish completely
- Push back your cuticles gently
- File your nails to your desired shape
- Buff the surface lightly
- Wash your hands and dry thoroughly
- Wipe each nail with polish remover to get rid of any oils
The Step-by-Step Process
Now, let’s get right into how to master the reverse French manicure at home.
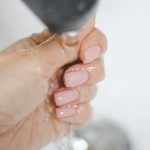
Step 1: Start With the Base
Think of your base coat as insurance for your manicure. Start with clean, dry nails and apply a thin, even layer from base to tip.
Don’t forget to cap the free edge. Run the brush along the tip of your nail to prevent chipping. Let it dry completely before moving on, usually about 2-3 minutes.
Step 2: Apply Your Main Color
This is your canvas color. Roll the bottle between your palms (don’t shake or it will create bubbles). Paint in three strokes: one down the middle, then one on each side.
Keep a small gap between the polish and your cuticles for a clean look. Apply two thin coats, waiting about 3 minutes between each one.
If you can still see sheer spots, add a third thin coat rather than one thick one.
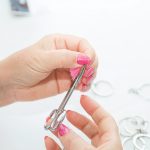
Step 3: Create Your Moon Shape
Here’s where the magic happens. Take your reinforcement sticker and check the size against your nail, then trim if needed. Use tweezers to place it, lining up the curve to mirror your cuticle line.
Press down firmly along all edges with an orange stick, paying extra attention to the corners where polish loves to sneak under.
Step 4: Add Your Second Color
Now the fun part: time for your contrast shade. Paint from the cuticle toward the sticker using light, careful strokes.
Apply one or two thin coats, depending on how opaque you want it. Work steadily but don’t rush. You want even coverage without flooding the edges.
Once you’re happy with the coverage, remove the sticker immediately while the polish is still wet. Pull it off in one smooth motion, angling toward yourself rather than straight up.
Step 5: Perfect and Seal
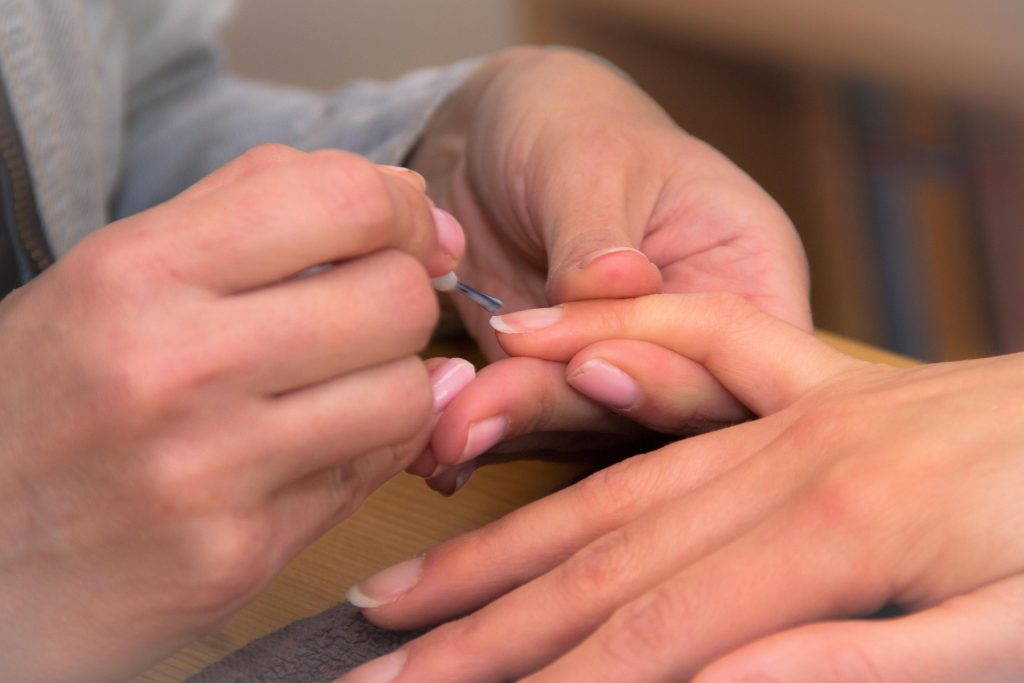
Check your work. Use a small clean-up brush dipped in acetone to fix any wobbly lines or smudges.
Once you’re satisfied and the polish feels touch-dry (about 5 minutes), apply your top coat. Start at the base and pull straight down over where the colors meet.
Cap the free edge again for extra durability. Give yourself at least 10 minutes of hands-off time to let everything dry completely.
Pro Tips for Perfect Results
These insider tricks will take your reverse French from good to great:
Tip 1: Always Start With Clean Nails
Make sure your nails are clean before you start. Most people may not know but clean nails could be the reason why your reverse french manicure fails.
Tip 2: Sticker Placement
Before putting the sticker on your nail, stick it to your hand once and peel it off. This makes it slightly less sticky and less likely to pull up your base color when you remove it.
Tip 3: Clean Lines
If your lines aren’t perfect after removing the sticker, use a small clean-up brush dipped in polish remover to fix any wobbly edges. Work carefully and slowly for the best results.
Tip 4: Lasting Power
Apply your top coat from the moon down to the tip in one smooth stroke. This seals the edge where the colors meet and prevent chipping.
Common Mistakes to Avoid
Don’t let these rookie errors ruin your reverse French manicure. Here are some common mistakes to avoid:
1. Rushing the Process
Each layer needs to dry completely before moving on. Being impatient leads to smudges, dents, and peeling. You can turn on your favorite show and give yourself time to do it right.
Remember that you’ll spend more time fixing mistakes than you would have spent waiting for proper drying time.
2. Skipping the Base Coat
Dark colors can stain your nails yellow if you skip the base coat. Plus, your manicure won’t last as long. Trust me, those extra few minutes are worth it.
The base coat also helps prevent peeling and chipping. This is especially important when you’re using multiple colors for a reverse French design.
3. Using Old Stickers
If your reinforcement stickers have lost their stick, they won’t create clean lines. Get fresh ones for each manicure session.
Old stickers can also leave behind a residue that makes your polish bubble or peel, ruining your entire design.

Quick Fixes for Common Problems
Even pros run into issues sometimes. Here’s how to fix them:
1. Bleeding Colors
If your colors start to bleed into each other, wait until everything’s completely dry, then carefully clean up the line with a small brush dipped in polish remover.
The key is using a high-quality detail brush. Those cheap ones from the drugstore won’t give you the precision you need for this fix.
2. Lifting Edges
Notice the edges starting to lift? Add a thin layer of top coat, focusing on sealing the free edge of your nail.
Be sure to ‘wrap’ the top coat around the tip of your nail. This simple trick can add days to your manicure’s life.
3. Chips and Dings
Keep your main colors handy for quick touch-ups. Small chips can be carefully filled in without redoing the whole nail.
The trick is to dab the polish instead of brushing it on – this helps blend the touch-up with your existing manicure seamlessly.
Your Perfect Reverse French Awaits
Ready to show off your nail art skills? The reverse French manicure may take a bit of practice, but the results are worth it.
Plus, you’ll save money doing it at home instead of at the salon. Always keep in mind that steady hands and patience are your best friends in this nail game.

Hi, I’m Kate, a DIY enthusiast with a passion for creative nail designs. When I’m not caring for my herb garden or spending time with my two dogs, I’m trying out fresh nail colors and designs. I love mixing up my look with bold nails and accessories, and I’m excited to share my tips and ideas with others who enjoy a bit of DIY flair in their routine.