Table of Contents
Do you want gorgeous feet without the salon prices? I used to spend $50+ every few weeks at the nail salon until I figured out how to get the same results at home.
Now I save hundreds of dollars a year and get to pamper myself whenever I want. The best part? You probably already have most of the stuff you need in your bathroom.
Here, I’ll show you how to do a pedicure at home and get quality results.
What You’ll Need for Your DIY Pedicure
Before we start, gather these basics:
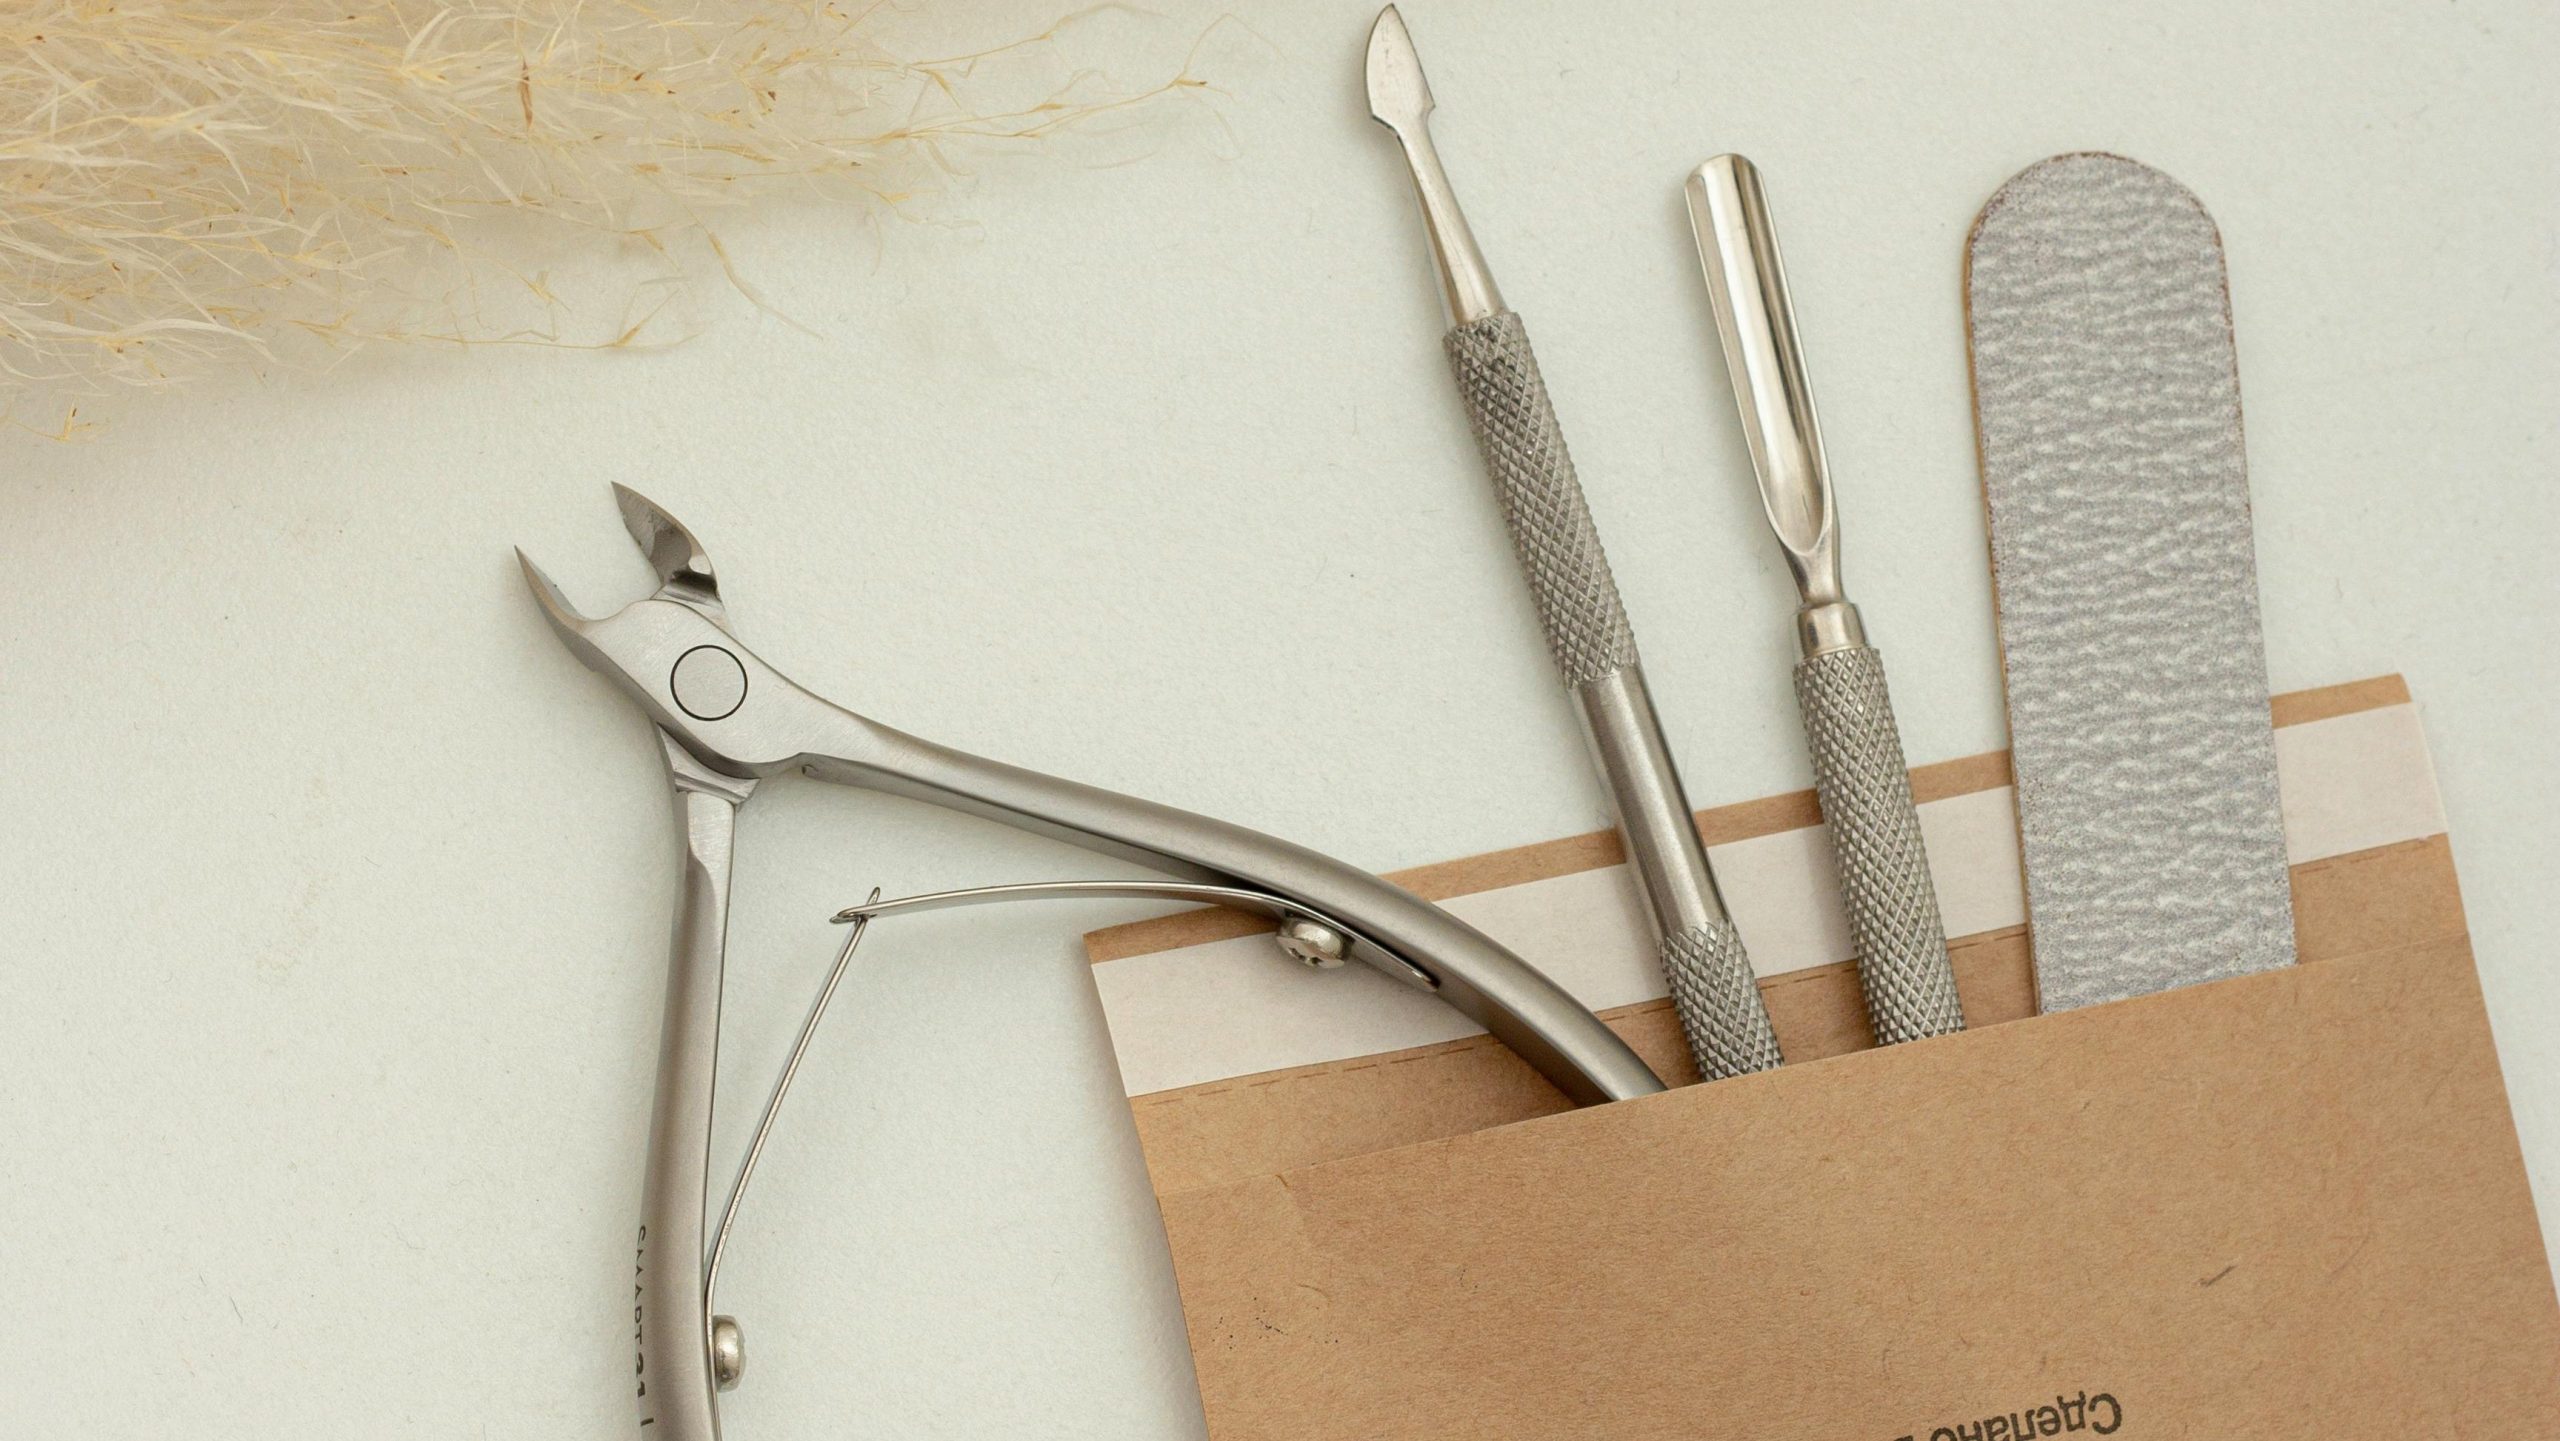
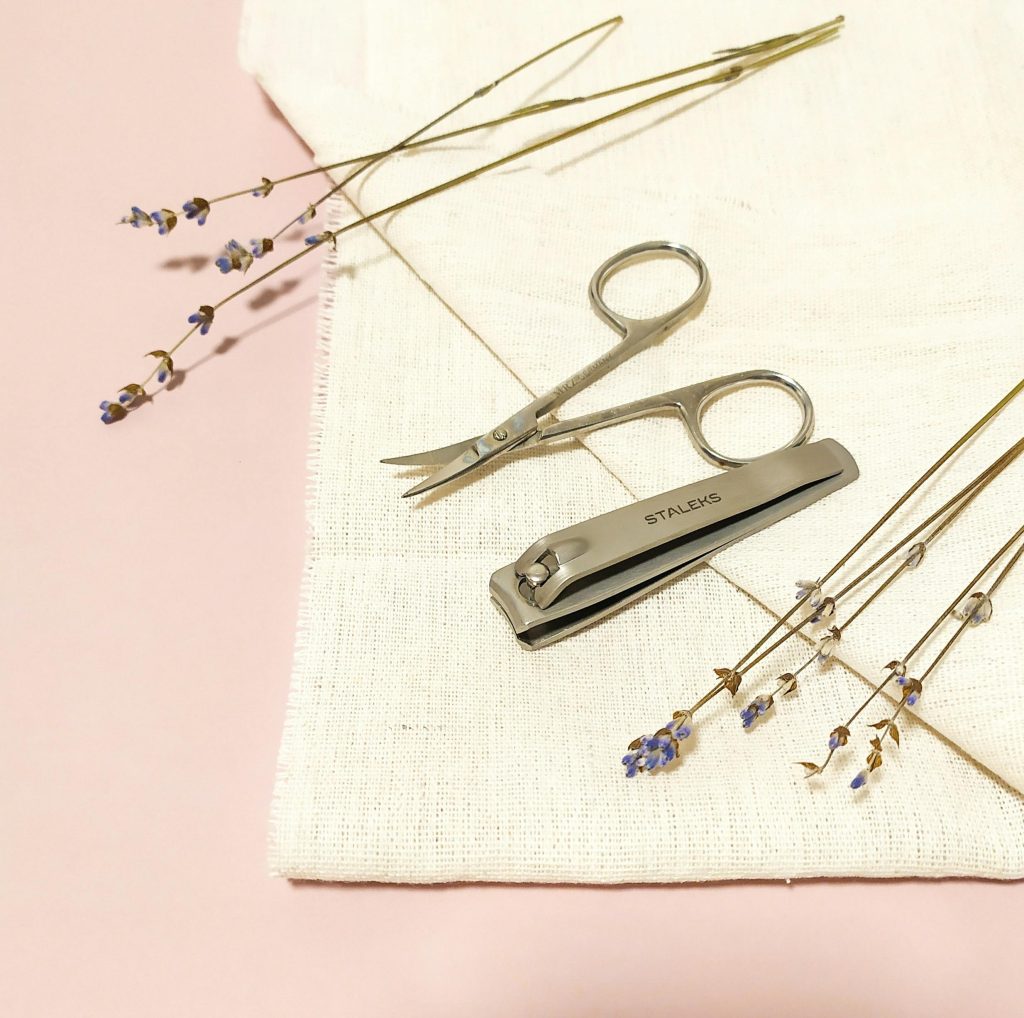
- Basic nail tools (nail clippers, file, cuticle pusher)
- Foot soak or plain warm water
- Foot scrub (store-bought or homemade)
- Moisturizer
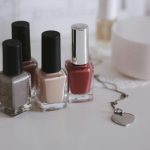
- Nail polish and base/top coat
- Clean towel
- Optional: foot mask, pumice stone, orange stick
How to Do a Pedicure at Home in 8 Simple Steps
Even if you’ve not tried this before, don’t worry. Just follow these steps and you are well on your way to becoming a DIY pedicure pro.
Step 1: Prep Your Space
Nothing ruins a good pedicure like having to get up mid-way because you forgot something. Set up your supplies within arm’s reach.
I like to do this on my couch with a good show playing. It makes the whole thing feel more like a treat than a chore.
Put down an old towel to catch any spills and fill a basin or tub with warm water. Add Epsom salts if you have them, but plain water works fine too.
The key is making sure the water’s not too hot. You want it warm enough to soften your skin but not so hot it’s uncomfortable.
Step 2: Remove Old Polish and Shape Your Nails
Take off any old polish completely; even those stubborn bits in the corners.
Clip your toenails straight across (this helps prevent ingrown nails) and file the edges smoothly.
Ensure you don’t go too short. You’ll thank me later when you’re not dealing with sensitive toes.
Step 3: Soak and Soften
Now for the relaxing part. Soak your feet for about 10 minutes. This is the perfect time to scroll through your phone or catch up on your favorite show.
The warm water softens your skin and makes the next steps much easier.
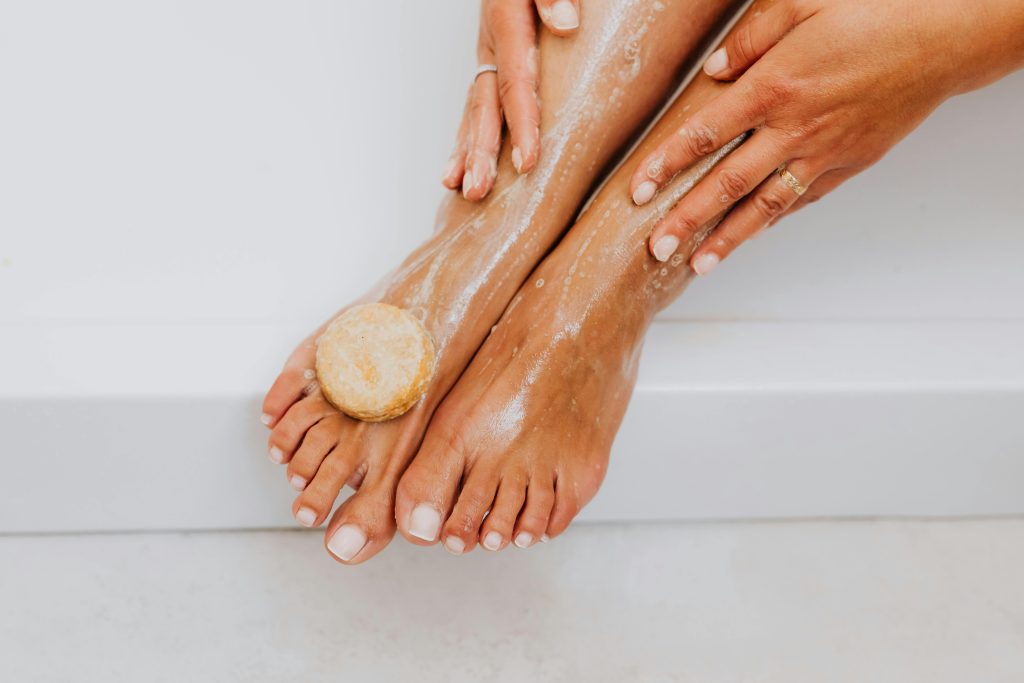
Step 4: Tackle the Rough Spots
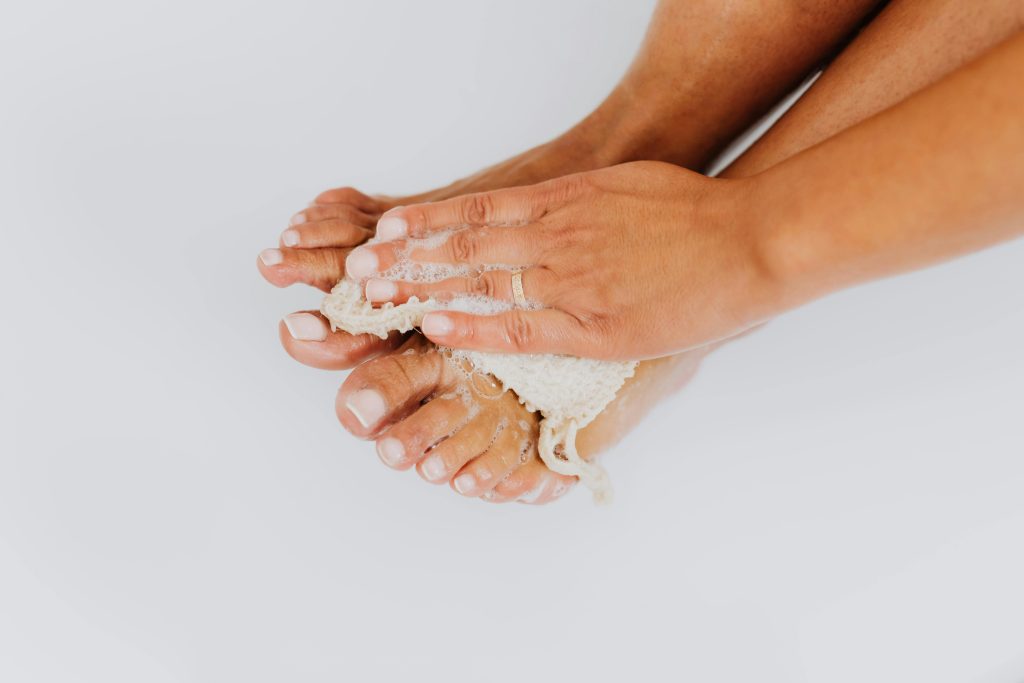
After soaking, it’s time to deal with any rough patches. Use your foot scrub or pumice stone on damp feet, focusing on heels and any callused areas.
Don’t go overboard because some calluses actually protect your feet. You want smooth, not raw. Work in circular motions and rinse occasionally to check your progress.
If you’re using a scrub, massage it in well to help with circulation. It will make your feet feel amazing.
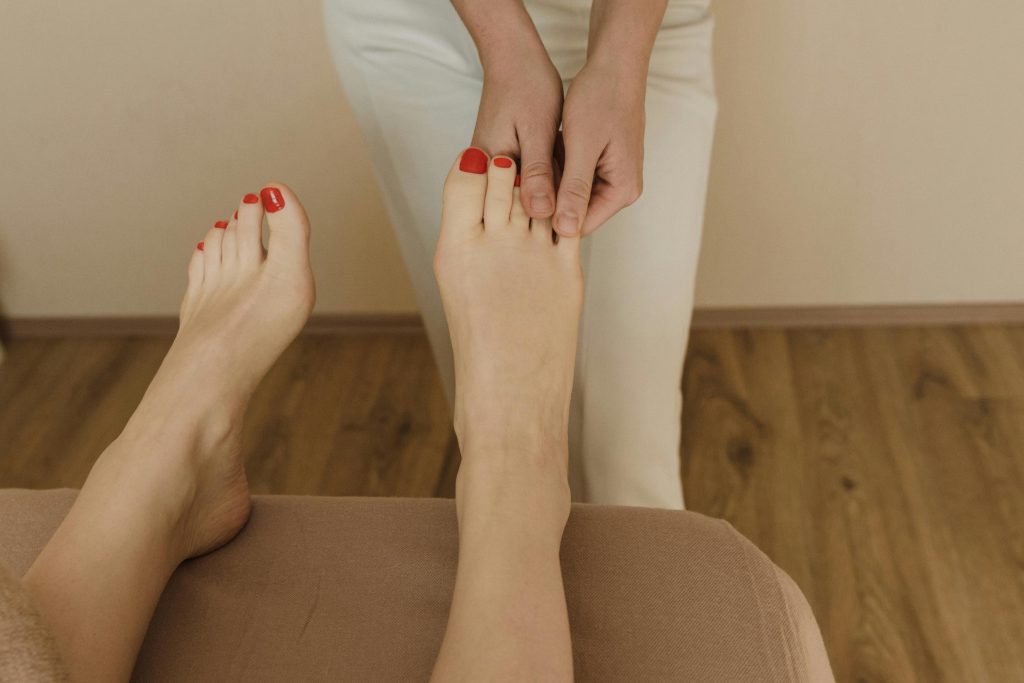
Step 5: Cuticle Care
Pat your feet semi-dry and push back your cuticles gently with an orange stick or cuticle pusher. Don’t cut them.
Cuticles protect your nails from bacteria. Just push them back carefully and remove any loose bits.
Step 6: The Secret to Baby-Soft Feet
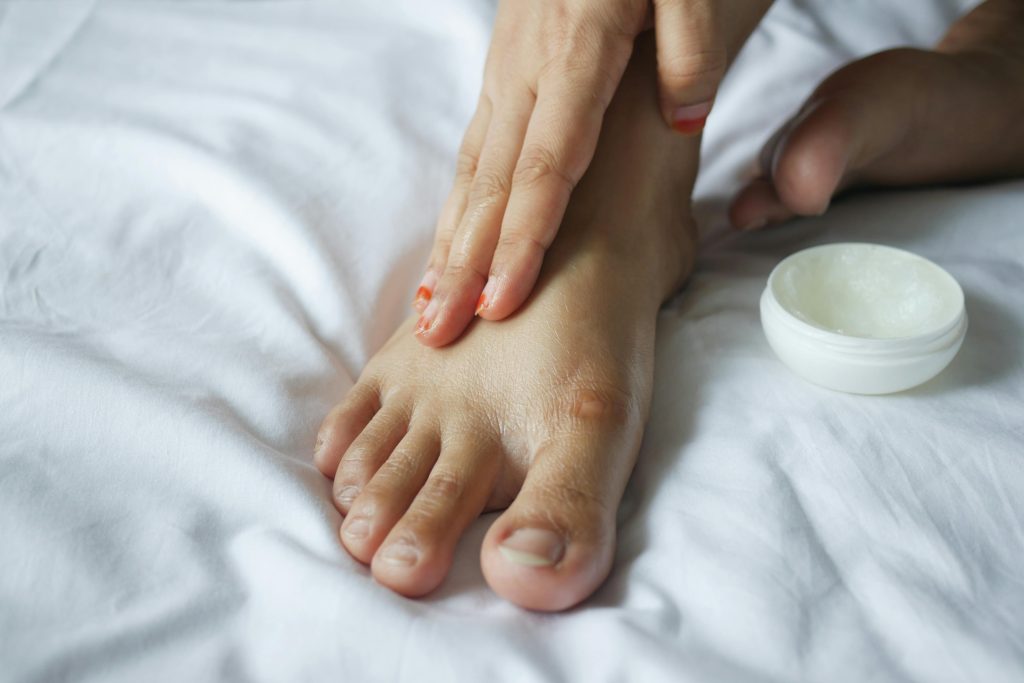
Here’s where the magic happens. After all the scrubbing and soaking, your feet are ready for deep moisturizing.
Apply a thick layer of foot cream or regular moisturizer. If you want extra softness, put on some cotton socks and leave them on for at least 30 minutes.
Step 7: Polish Prep
Remove any moisturizer from your toenails using nail polish remover. This step is crucial because polish won’t stick to oily nails.
Separate your toes with foam toe separators or twisted tissue paper if you don’t have the real thing.
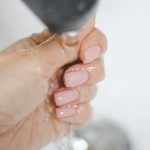
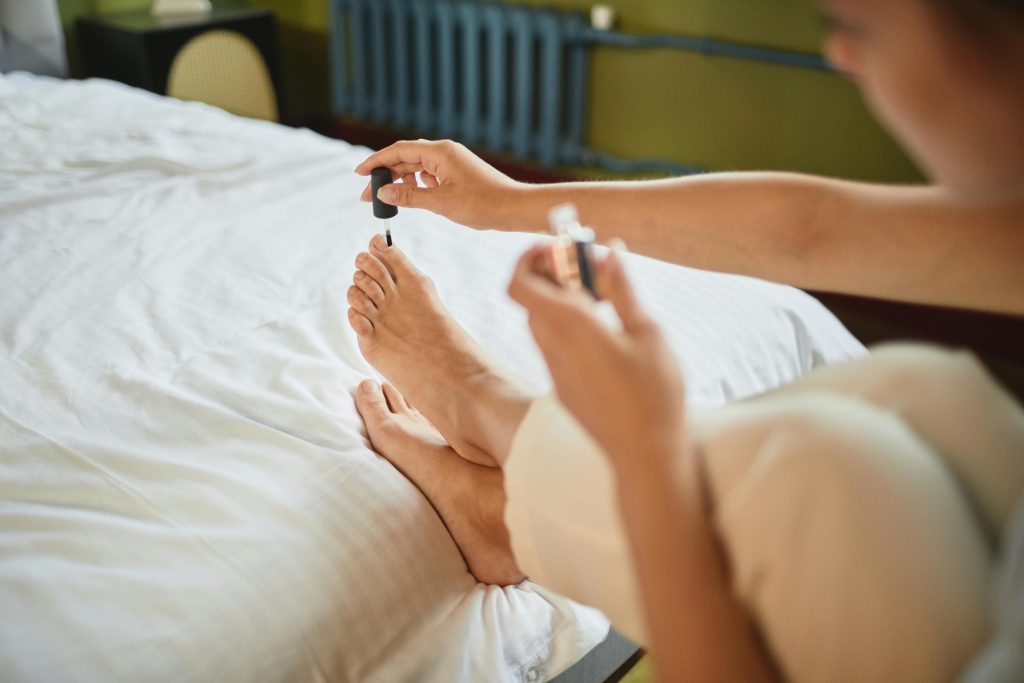
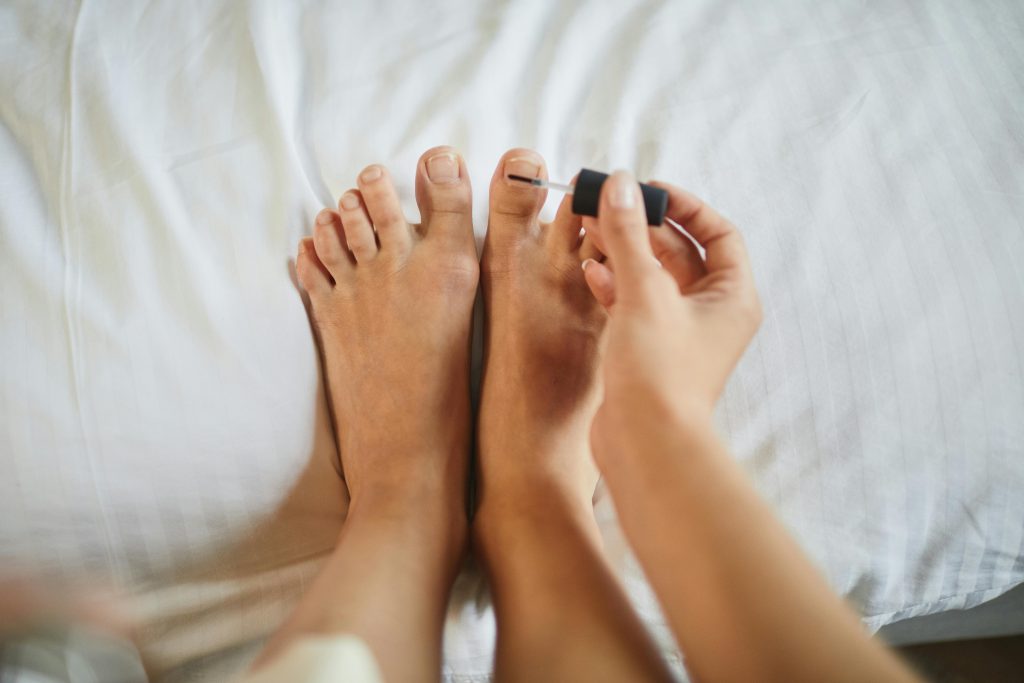
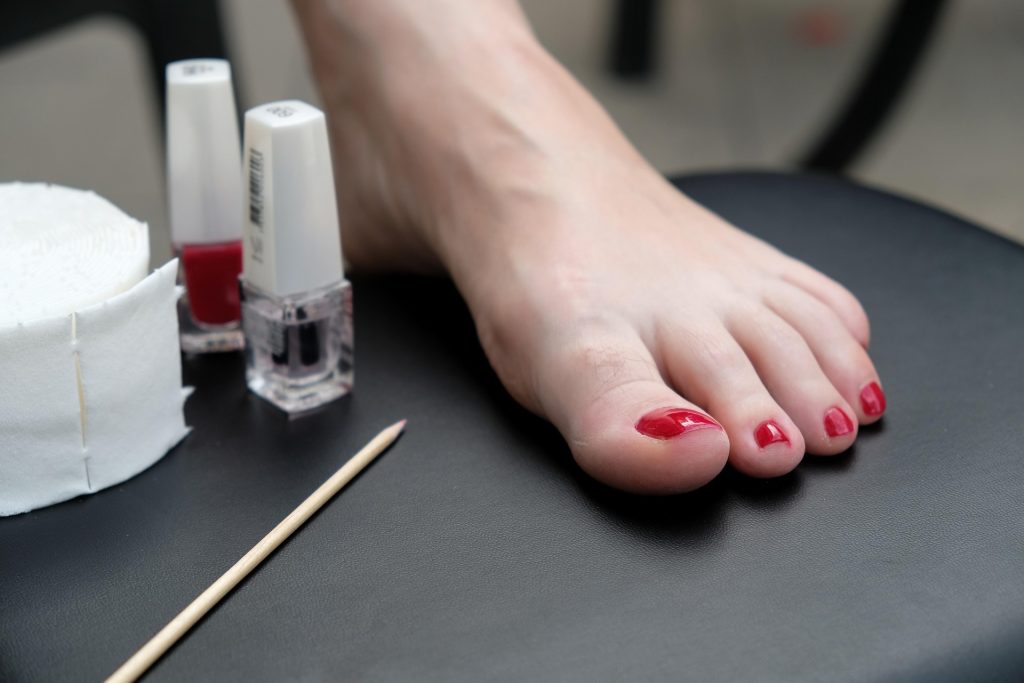
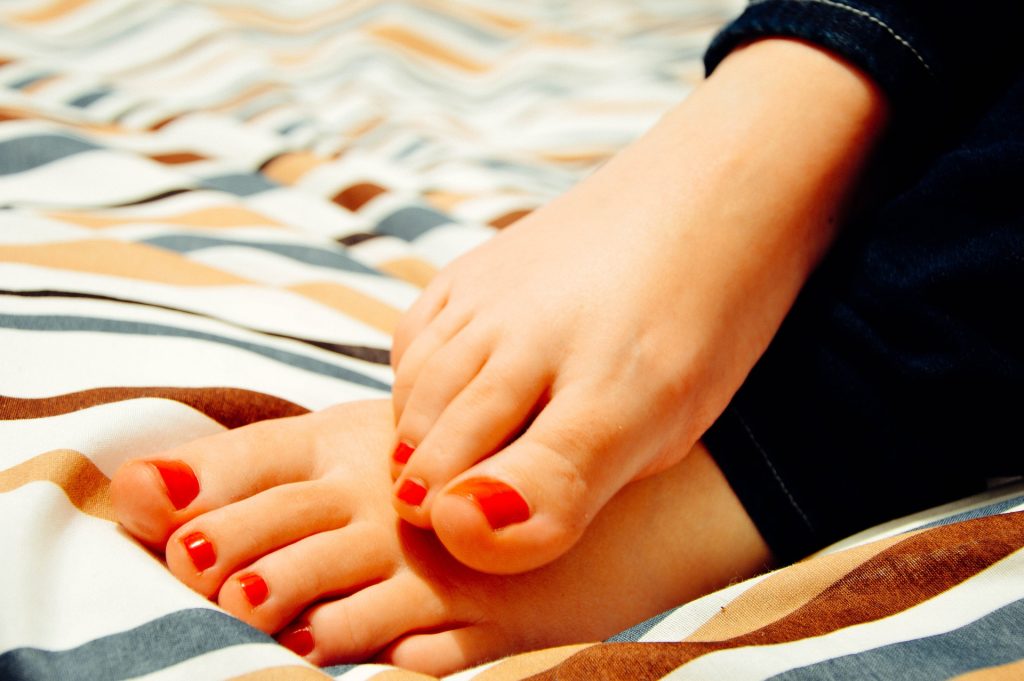
Step 8: Perfect Polish Application
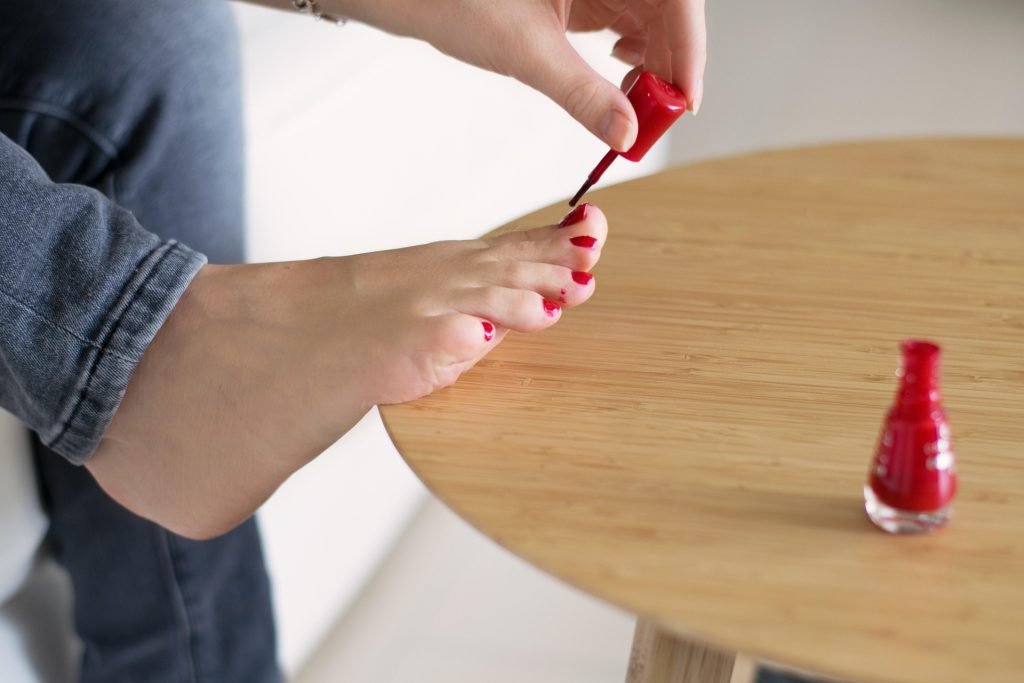
Start with a base coat. It prevents staining and helps your color last longer. Apply thin layers, starting from the middle of the nail, then the sides. Wait a minute between coats.
For the color, use three thin strokes: one down the middle, then one on each side. Two thin coats look better than one thick one.
If you make a mistake, clean up any mistakes with a cotton swab dipped in polish remover.
Finish with a top coat to seal everything in and add shine. Wait at least 15 minutes before doing anything else. Rushing this part ruins all your hard work.
Pro Tips for Long-Lasting Results
1. Always Use a Base Coat
This is not just sales talk, it really makes a difference. Base coat acts like double-sided tape between your nail and polish.
It gives the colored polish something to grip instead of just sitting on your smooth nail surface.
It also prevents dark polishes from staining your nails yellow (that weird yellowing that happens when you take off red or dark blue polish? That’s from skipping base coat!)
2. Apply Polish it Thinly and Wait
Thin layers dry faster and more evenly, which means fewer bubbles and that annoying “sheet mark” effect when you go to bed
You should be able to slightly see your nail through the first coat. That’s how thin it should be. Wait about 2 minutes between coats then start over with the second coat.
3. Cap the Free Edge of Your Nails
Doing this with polish prevents chipping. This means running your brush along the tip of your nail after painting the top. Do this with every layer: base coat, color coat, and top coat.
4. Keep Cuticle Oil Nearby
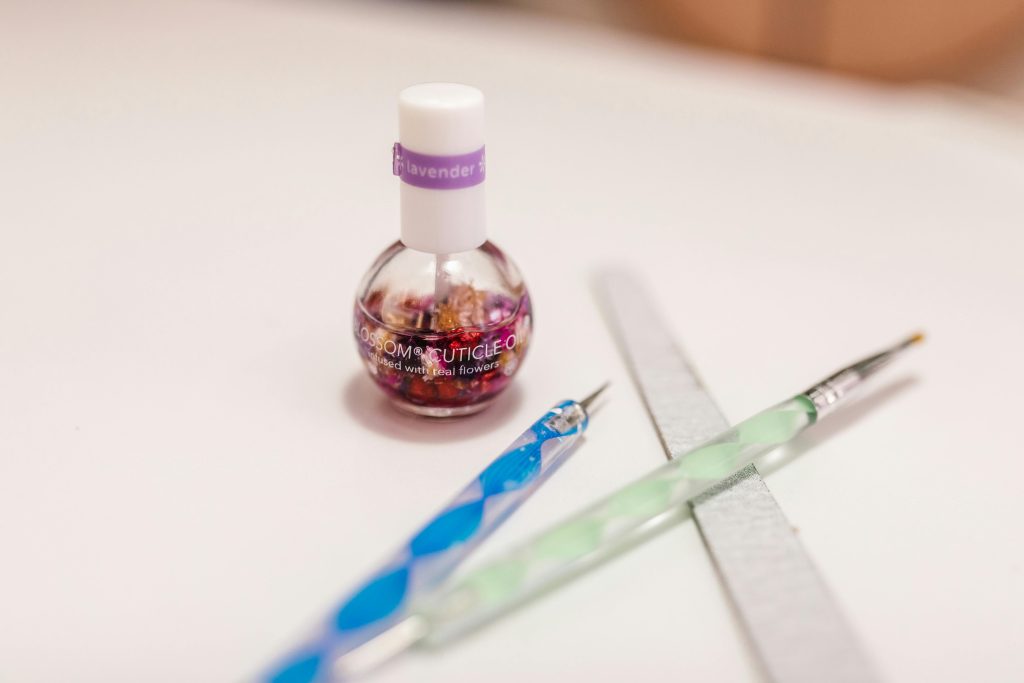
Dry nails chip more easily, just like dry skin. Cuticle oil soaks into the nail plate and makes it more flexible, so your polish can bend with your nail instead of cracking.
So, you should keep a bottle by your bed or couch and apply it every night while watching TV.
5. Reapply Top Coat
Think of top coat as a protective shield. It takes the daily wear and tear instead of your color. After a few days, that shield gets thin from washing dishes, showering, etc.
Adding a fresh layer of top coat every 3-4 days is like giving your pedicure a mini refresh. It also brings back that fresh, glossy look when your polish starts looking dull.
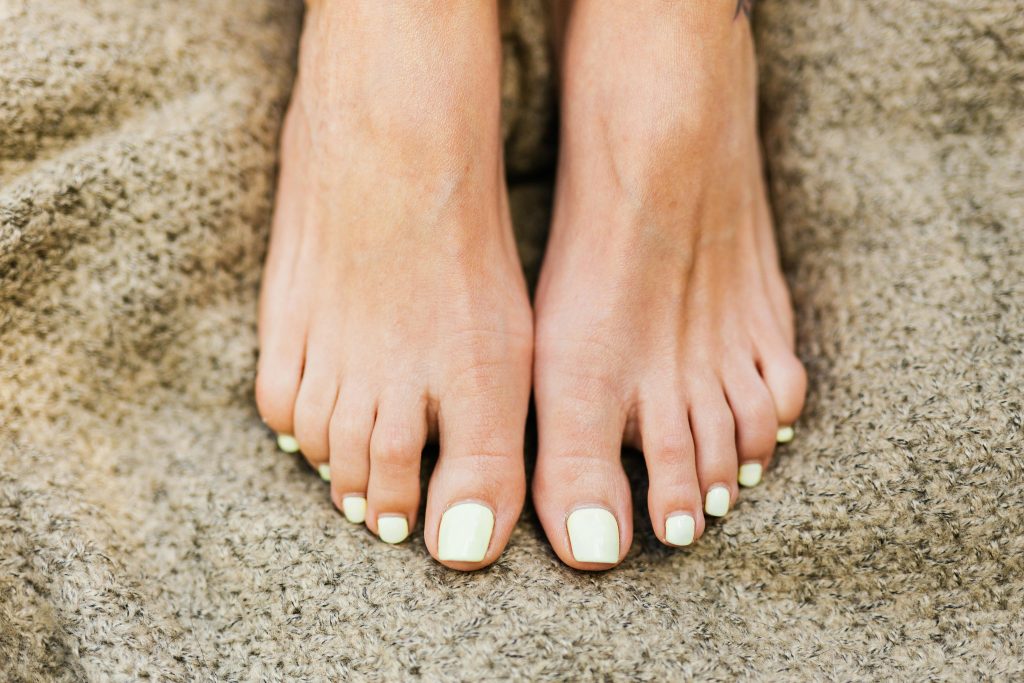
Time to Show Off Those Feet
There you have it: everything you need for a perfect at-home pedicure. Once you get the hang of it, you’ll probably find yourself looking forward to your DIY spa time.
Plus, think of all the money you’ll save on salon visits. Who knew pretty feet could be so budget-friendly?

Hi, I’m Kate, a DIY enthusiast with a passion for creative nail designs. When I’m not caring for my herb garden or spending time with my two dogs, I’m trying out fresh nail colors and designs. I love mixing up my look with bold nails and accessories, and I’m excited to share my tips and ideas with others who enjoy a bit of DIY flair in their routine.