
Table of Contents
Ever looked at your bare nails and thought “I should do something with these” but got overwhelmed by complicated designs? I get it.
Sometimes the simplest nail ideas turn out to be the most stunning. From quick color blocks to subtle sparkles, here are some simple nail ideas that look amazing.
1. Classic Color Block Nails
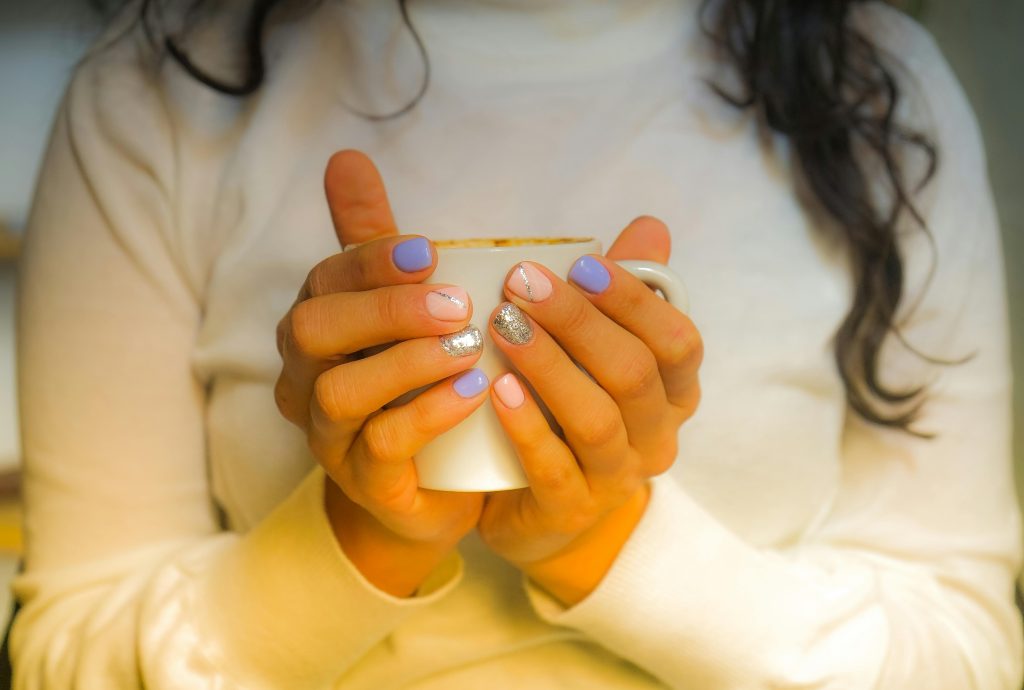
Want to make a statement without the fuss? Color blocking is your answer. By pairing two shades, you can create a look that’s both modern and timeless.
Paint your ring finger and thumb in one color, and the rest in another. To nail the perfect lines, apply regular scotch tape diagonally across your nail before painting. Once the polish is completely dry, peel off the tape for crisp edges.
For a start, try nude and white for office-ready style, black and gold for night-out glamour, pastel pink and lavender for weekend brunches, or gray and silver for those fancy dinner parties.
The real secret? Pick colors that make you feel confident, and you can’t go wrong.
2. Minimalist Dots and Lines
Ready to level up from solid colors? Minimalist designs are your next stop.
Start with a neutral base color that matches your style, then grab a toothpick or dotting tool for the fun part. A tiny gold dot near your cuticle or delicate silver lines across the tips instantly turns basic nails into conversation starters.
You can create simple patterns like three dots in a triangle, a single line down the middle, or scattered dots in varying sizes. For minimalist designs, less is definitely more.
3. Negative Space Designs
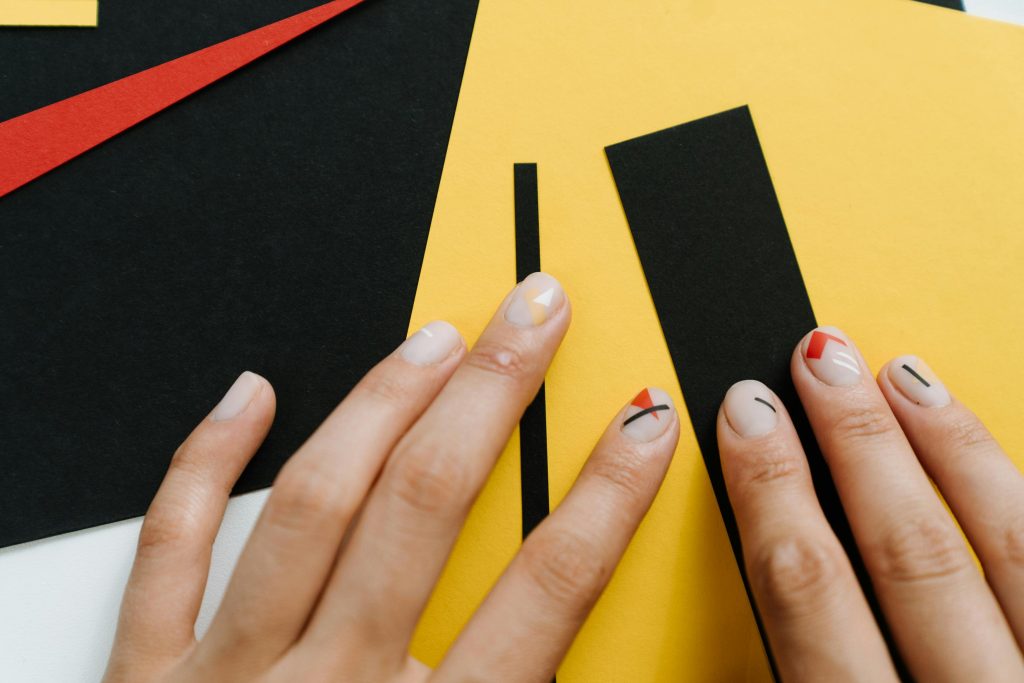
Here’s a cool trick professional nail artists swear by: using your natural nails as part of the design.
By leaving strategic sections unpainted while adding simple shapes or lines, you’ll create a look that’s both sophisticated and modern. This technique works wonders on shorter nails, making them appear longer and more elegant.
The secret is clean edges. Use striping tape as your guide and remove it while the polish is slightly wet for the sharpest results.
4. Glitter Accent Nails

Sometimes you want just a touch of sparkle, and accent nails are the perfect solution.
While keeping most nails in a beautiful solid shade, add glitter to one or two nails for that perfect pop of glamour. Paint an entire accent nail in glitter, create a fade from tip to base, or add a thin sparkly line along the cuticle.
This works well when you’re transitioning from day to night looks. It’s sophisticated enough for the office but ready for after-work drinks.
5. Simple French Tips With a Twist
Forget everything you know about traditional French manicures. Today’s version plays with metallic tips, diagonal lines, and unexpected colors.
While keeping your base neutral, try gold tips for a luxe update, or go bold with diagonal tips in your favorite shade. You could even mix it up with double-lined tips in contrasting colors.
These modern takes maintain the classic’s elegance while adding a fresh, personal touch.
6. Ombre Effects Made Easy
Think ombre is only for the pros? Think again. With just a makeup sponge and two similar shades, you can create a beautiful gradient effect at home.
The trick is choosing colors that naturally blend together. Think light pink fading into dark pink, or soft blue melting into purple.
Paint both colors on your sponge with a slight overlap, then gently dab it onto your nail, moving up and down slightly. A clear top coat smooths everything out for a salon-worthy finish.
7. Metallic Accents

Want to add instant class to any nail look? Metallic details are your best friend. Whether it’s thin gold lines, silver tips, or rose gold dots, these touches catch the light and elevate your entire manicure.
The secret to working with metallics is patience. Apply them last, after your base color is completely dry, and use thin brushes for precise application. Always seal with a good top coat to keep your shine lasting longer.
8. Two-Tone Techniques

Looking for something bold yet wearable? Two-tone nails offer endless possibilities. You can:
- Split your nail diagonally with contrasting colors,
- Try horizontal blocks for a modern edge, or
- Create simple geometric shapes using complementary shades.
The key to nailing this look is in the prep work. Use tape guides for clean lines and make sure your first color is completely dry before adding the second.
Easy Seasonal Designs

Every season deserves its nail art moment. Here’s how to nail the perfect seasonal look without going overboard.
1. Winter
Create a delicate snow effect with tiny white dots scattered across a deep blue or gray base.
The trick is to vary the dot sizes slightly and keep them random like real snowflakes. For extra sparkle, add a single silver accent nail to capture that icy winter feel.
2. Spring
Welcome the warmer weather with simple flower designs made from dots. Start with a light, neutral base like pale pink or mint.
Use a dotting tool to create small flowers with five dots arranged in a circle, and add a contrasting dot in the center. Perfect for bringing a touch of garden freshness to your fingertips.
3. Summer
Capture beach vibes with minimalist palm tree silhouettes against a sunset-inspired background.
Choose a peachy or coral base color, then use a thin brush to paint simple palm tree outlines in black or dark brown. Keep the design on just one or two nails for a subtle nod to summer fun.
4. Fall
When temperatures cool down, warm up your nail game with abstract leaf patterns. Use earthy tones like burgundy, burnt orange, or deep green as your base.
Add simple leaf shapes using a thin brush or dotting tool, keeping the designs loose and artistic.
How to Make Your Nail Last Longer
Beautiful nail designs deserve to stay fresh and chip-free, and these quick maintenance tricks will help your manicure go the distance.
Tip 1: Always start with clean, oil-free nails using nail polish remover, even if your nails are bare.
Tip 2: Use a quality base coat and wait for it to dry completely before applying color.
Tip 3: Paint thin layers instead of one thick coat – it dries faster and lasts longer.
Tip 4: Cap the free edge of your nail with polish to prevent chipping and peeling.
Tip 5: Keep your hands moisturized but avoid getting lotion on your nails directly.
Make It Your Own
Creating beautiful nails at home is all about having the right basics: a good base coat, top coat, your favorite colors, and simple tools.
Start with these designs, then mix and match them to create your style. Ready to give your nails a fresh look? Pick your favorite design and start creating.

Hi, I’m Kate, a DIY enthusiast with a passion for creative nail designs. When I’m not caring for my herb garden or spending time with my two dogs, I’m trying out fresh nail colors and designs. I love mixing up my look with bold nails and accessories, and I’m excited to share my tips and ideas with others who enjoy a bit of DIY flair in their routine.