Table of Contents
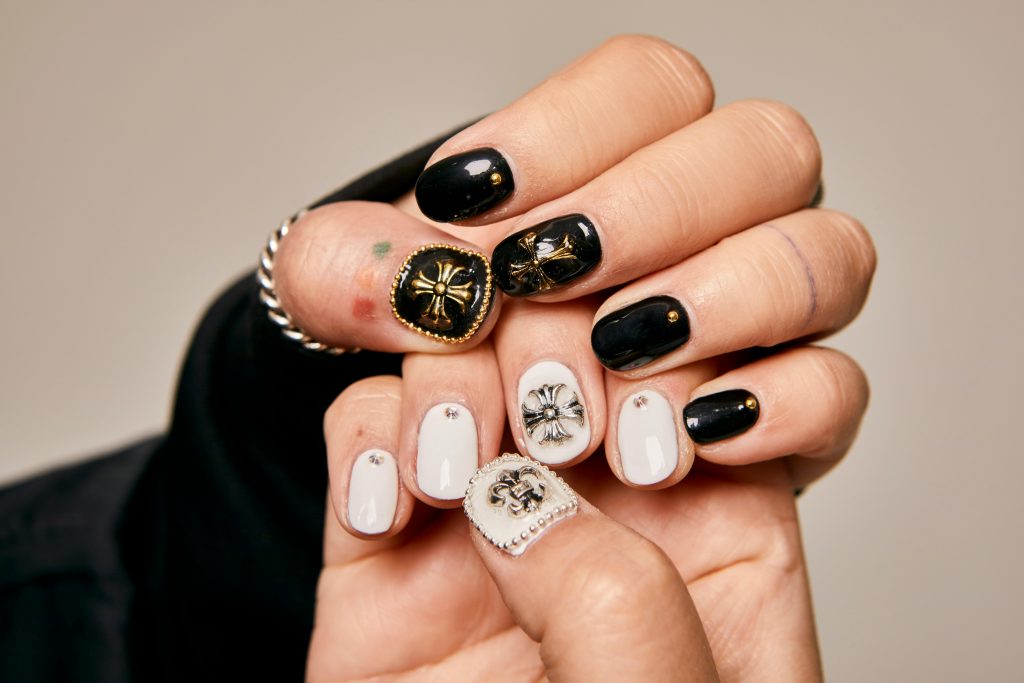
Want a manicure that looks like you went to a luxury salon? That’s black and gold nail designs and for good reason.
These two colors create some of the most stunning nail art combinations you’ll ever see.
I’ll show you7 stunning black and gold nail designs for every occasion.
Why Black and Gold is the Perfect Match
Black nail polish gives off that sleek, sophisticated vibe we all want. Then when you add gold, it becomes magical.
The gold catches the light and makes your nails pop in the best way possible.
This combo works for everything from casual coffee dates to fancy weddings, and it never goes out of style.
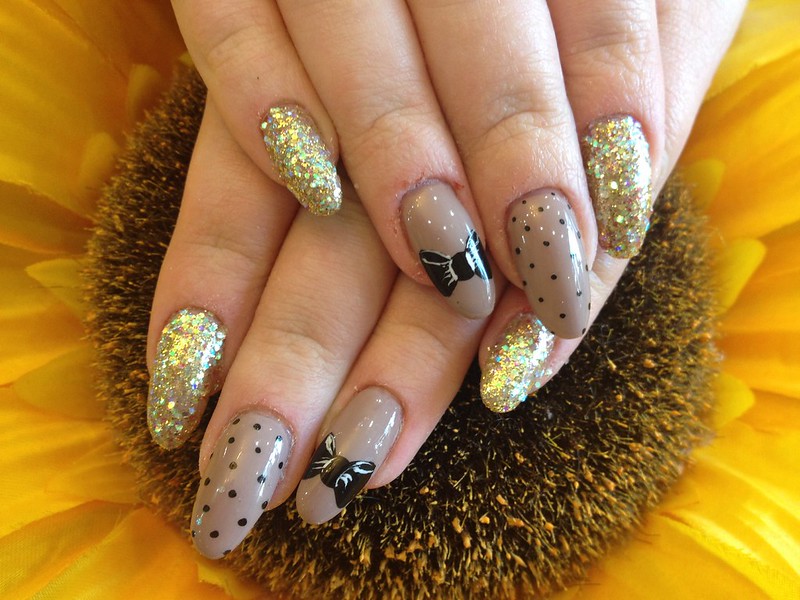
Simple Yet Amazing Nail Designs
These designs look fancy but are super easy to do, even if you’re just starting out with nail art.
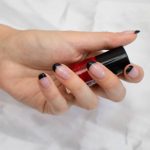
1. The Classic French Tip with a Twist
Remember the old-school French manicure? Now picture it with a black base and gold tips instead of white.
Paint your nails with two coats of black polish, wait for them to dry completely, and use gold polish for the tips.
If your hands aren’t steady enough for freehand work, use nail tape or stickers to get clean lines.
2. Reverse Moon Manicure
This design looks complex but it’s actually pretty simple.
Paint your nails gold first. Once that’s dry, use a small circular sticker near your cuticle. Cover the rest of the nail in black polish, then peel off the sticker.
The result? A gorgeous gold moon peeking out from your black nails.
Dazzling Designs for Special Events
These designs are perfect when you want your nails to steal the show at any event.
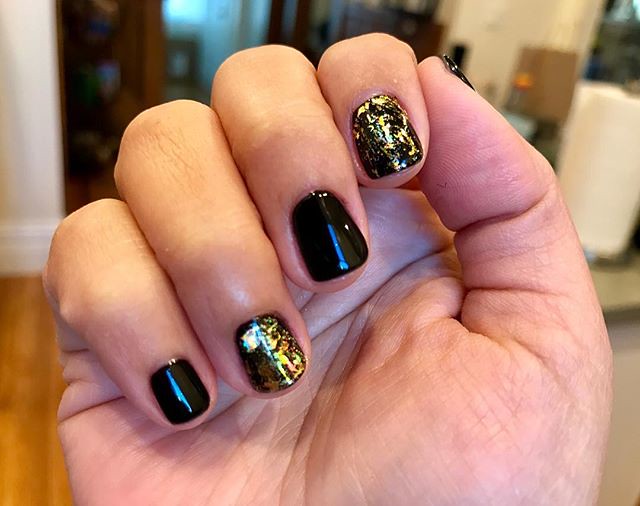
3. Gold Leaf Elegance
This look turns heads everywhere. Just start with black polish as your base. While it’s still slightly tacky, press small pieces of gold leaf onto your nails.
Don’t worry about making it perfect. The random pattern creates a beautiful marble effect that looks different on every nail.
When you’re done, seal it all in with a clear top coat.
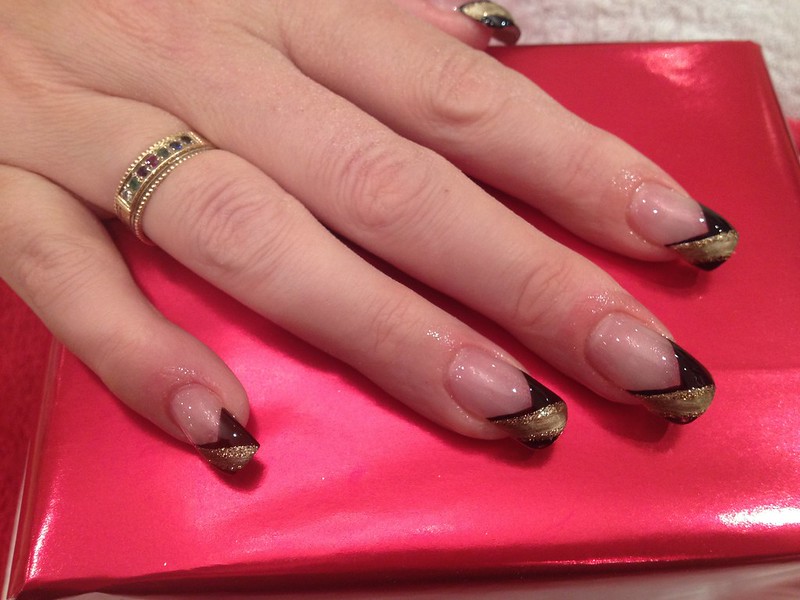
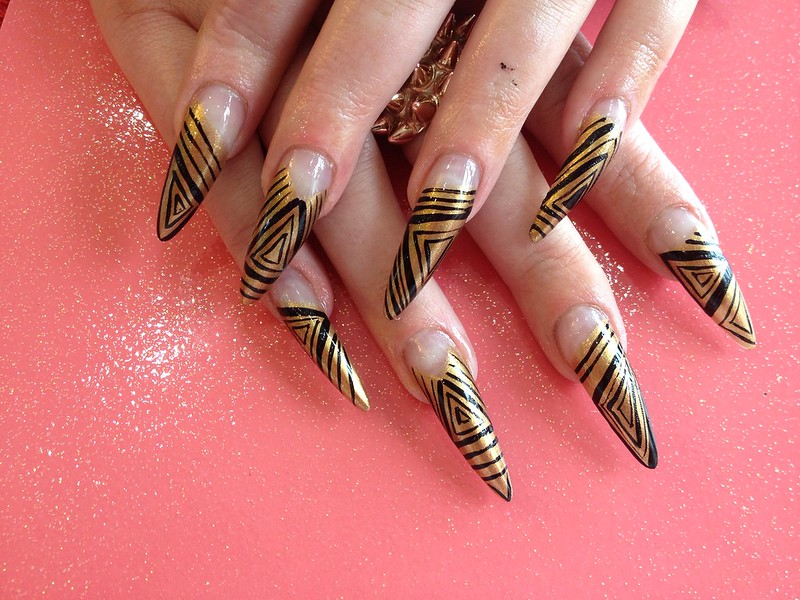
4. Geometric Glory
Geometry isn’t just for math class anymore. Use thin nail tape to create shapes on your black base coat.
Paint over the exposed areas with gold polish, then carefully remove the tape while the polish is still wet.
Finally, add a top coat, and now you have nails that look neatly done.
Seasonal Black and Gold Variations
With these designs, you can switch up your black and gold nail designs with the seasons.
5. Summer Sparkle
When summer hits, try adding tiny gold stars or dots to just one or two nails on each hand.
Keep the rest plain black for a subtle but eye-catching look. This is great for beach days or when you want to shine without going overboard.
6. Fall Designs
As temperatures drop, try adding gold foil in leaf patterns over black polish. It gives an elegant autumn vibe that looks amazing with sweaters and boots.
You can create abstract patterns or actual leaf shapes depending on your skill level.
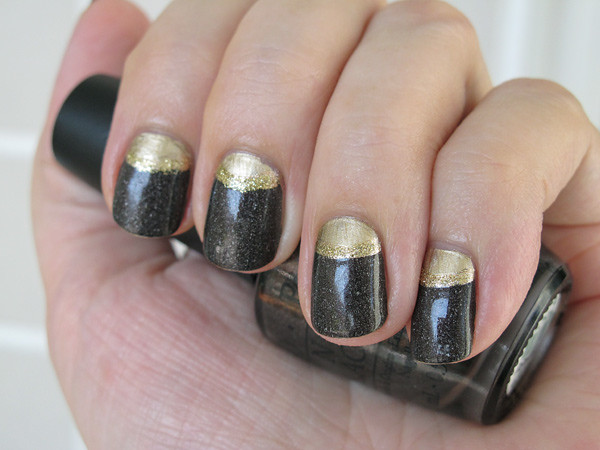
7. Winter Wonder
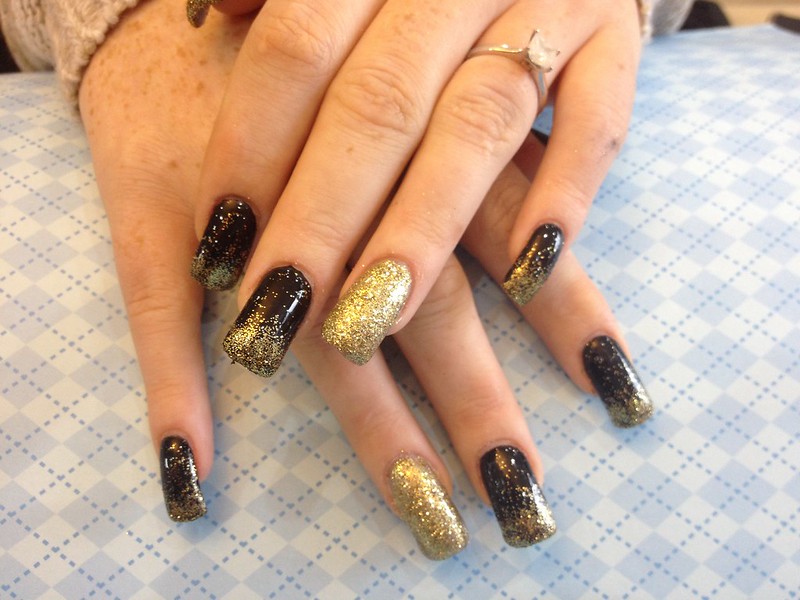
Winter calls for extra sparkle. Try a black base with a gold glitter gradient at the tips. Start with dense glitter at the tip and let it fade down the nail.
It’s like dipping your fingers in stardust which is perfect for the holidays.
Tips for Long-Lasting Results
Follow these simple steps to make your black and gold nail designs stay perfect for weeks.
Tip 1: Prep Work Pays Off
Your natural nails need to be ready before you start any design.
File them to your preferred shape, push back your cuticles, and use a nail buffer to smooth the surface.
Clean your nails with nail polish remover even if they’re bare. This removes any oils that stop the polish from sticking.
Tip 2: Layer Like a Pro
Always start with a good base coat. It helps your polish stick better and prevents staining. When applying black polish, use thin coats.
Two or three thin layers look way better than one thick coat, and they dry faster too. Then, wait at least two minutes between coats.
Tip 3: Make It Last
A quality top coat is worth every penny. It prevents chips and keeps your gold details sparkling.
Apply it carefully over your design, making sure to seal the free edge of your nails.
Then reapply the top coat every couple of days to extend the life of your manicure.
Common Problems and Easy Fixes
Run into trouble with your nail design? Here are the most common issues and how to fix them fast.
Problem #1: Bubbling Polish
If your black polish bubbles, it’s usually because you’re shaking the bottle. Roll it between your palms instead.
Also, avoid applying polish in a room with a fan or open window. Moving air can cause bubbles to form as the polish dries.
Problem #2: Smudged Designs
Working with gold over black can be tricky. Make sure your black base is completely dry before adding any gold details.
If you’re impatient, use a quick-dry top coat between layers.
If you do smudge something, a small brush dipped in nail polish remover can clean up mistakes without ruining the whole nail.
Taking Your Designs to the Next Level
These simple additions can turn basic black and gold nails into sophisticated looks.
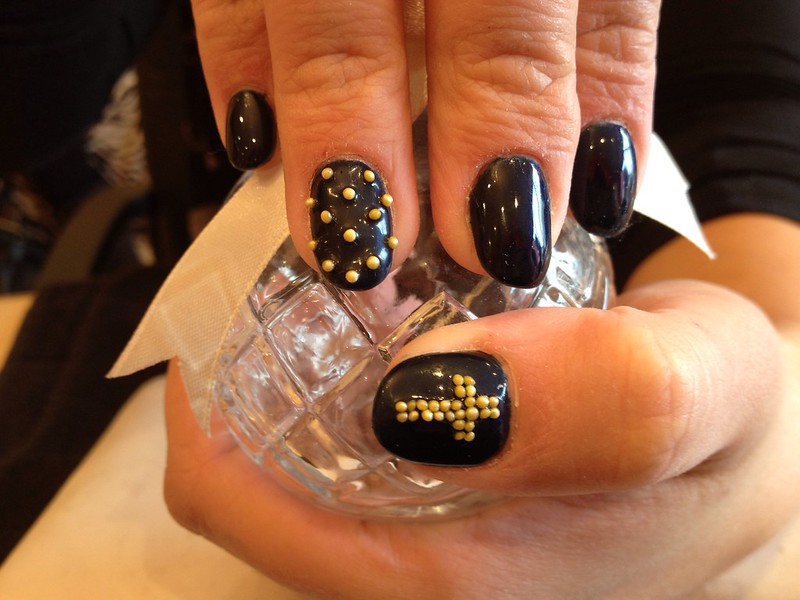
- Add gold striping tape for clean, sharp lines on your black base.
- Try placing small gold crystals near your cuticles for a subtle sparkle.
- Paint tiny gold dots freehand using a toothpick for a modern polka-dot look.
- Create a marble effect by swirling black and gold polish together with a thin brush.
- Add gold flakes randomly over black polish for an expensive-looking finish.
- Use gold glitter polish to create a fade effect from the base to the tip.
- Add a thin gold line down the center of each black nail for an elegant racing stripe.
- Place small gold star stickers on one accent nail per hand.
Just remember to seal everything with a good top coat to keep your design looking fresh.
Ready to Shine?
Now you know how to create stunning black and gold nail designs.
Practice makes perfect, so don’t get discouraged if it isn’t perfect on your first try.
Follow these tips and soon you’ll be creating DIY manicures that look professional.

Hi, I’m Kate, a DIY enthusiast with a passion for creative nail designs. When I’m not caring for my herb garden or spending time with my two dogs, I’m trying out fresh nail colors and designs. I love mixing up my look with bold nails and accessories, and I’m excited to share my tips and ideas with others who enjoy a bit of DIY flair in their routine.