Table of Contents
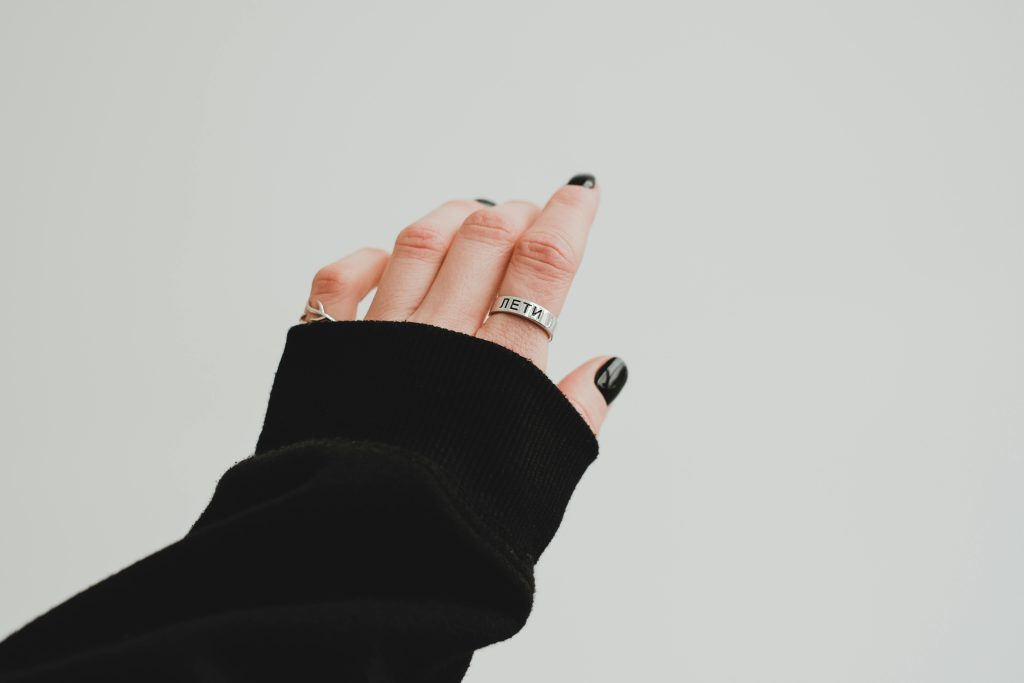
Black nails are not just for gothic looks or Halloween anymore. They’ve become the go-to for everyone from CEOs to celebrities, and for good reason.
So, if you’ve been thinking about trying black nails but are worried about how they may look. You’ll get to see how versatile it is.
Here are 7 black nail ideas that will upgrade your manicure.. Plus tips to keep your nails fresh.
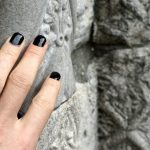
1. Classic Black Nails with a Twist
The basic black manicure has come a long way from just painting your nails with a single coat of color.
Want your black nails to look elegant? It’s in how you do them. Start with a base coat so the black won’t stain your nails.
Then put on two thin coats of black polish instead of one thick one. This stops bubbles and makes the color look even.
After that, add a shiny top coat to make your nails gleam. Or use a matte top coat for a soft, velvety look that’s pretty in any light.
2. Negative Space Designs
Black polish with clear spaces is trending right now. Just leave some parts of your bare nails showing in simple patterns.
The mix of clear and black nails looks fresh and works for both work and fun. Start easy with slanted lines or small moons at the bottom of your nails.
When you feel ready, you can try new patterns like zigzags or fun shapes.
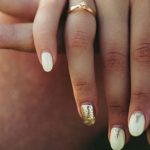
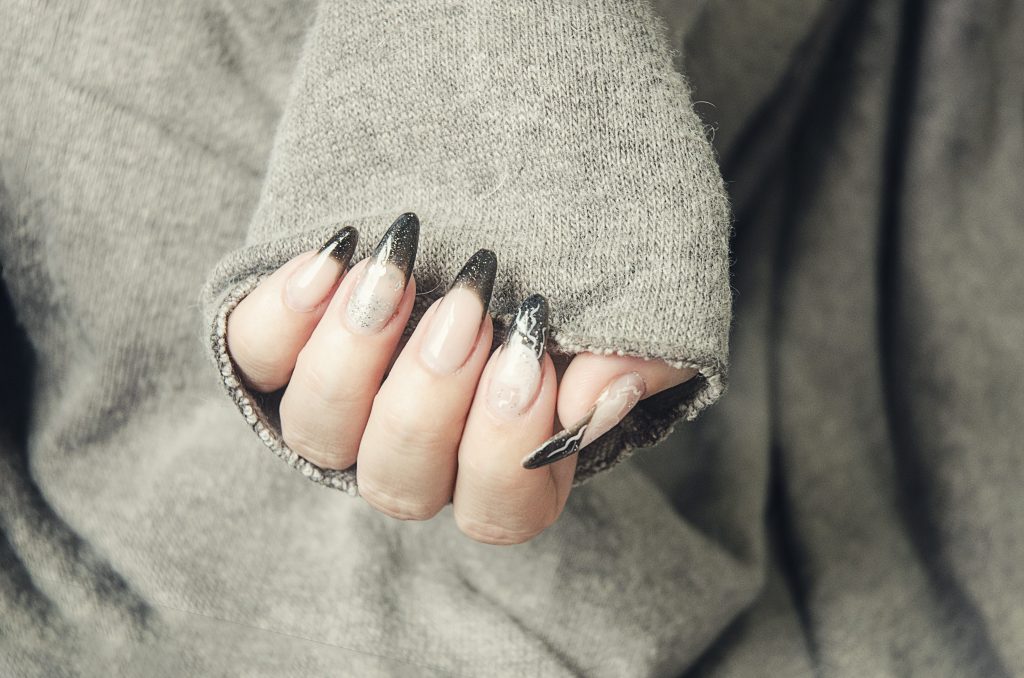
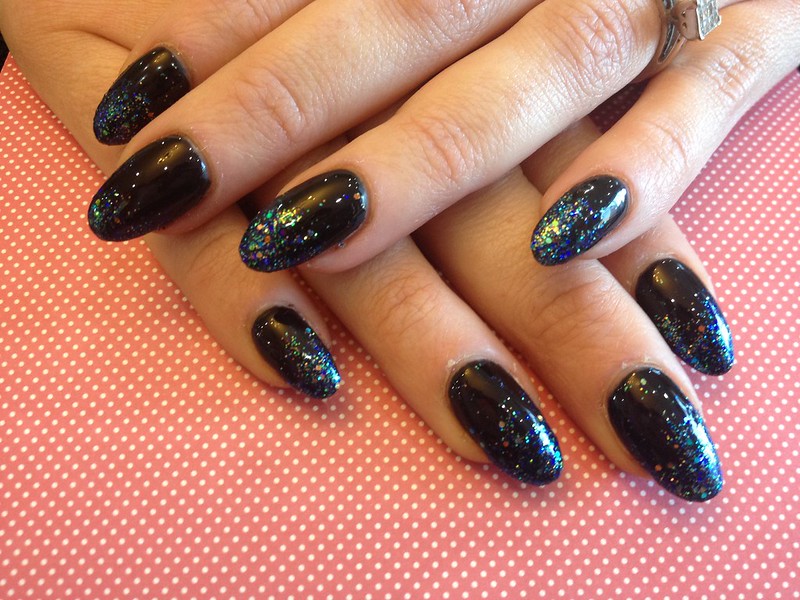
3. Adding Sparkle to Black Nails
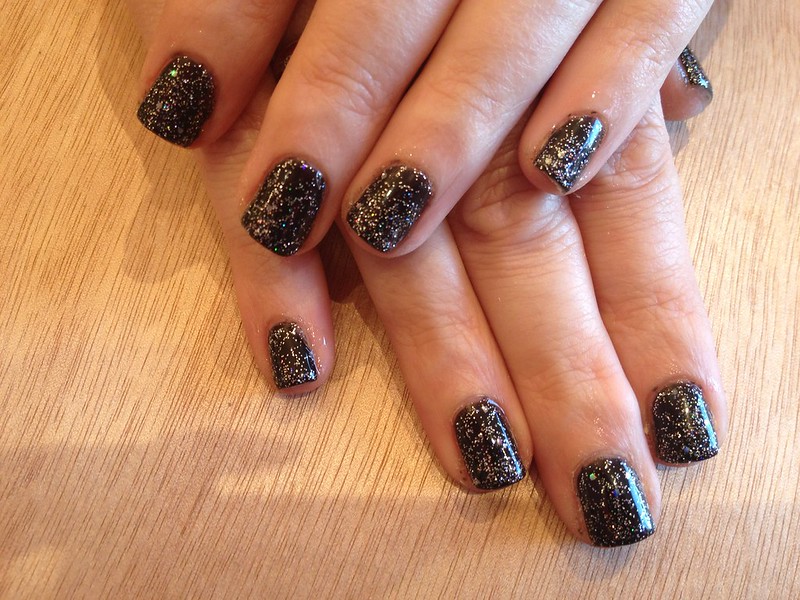
Black nails with glitter look amazing, and it’s clear why everyone loves them. The mix of dark polish and shine makes your nails pop.
You can put glitter all over for a starry look, or add just a few pieces where you want them.
Gold glitter on black looks rich, while silver makes your nails look like the night sky. Want something extra nice? Put tiny gems at the base of your nails.
4. French Tips with a Dark Twist
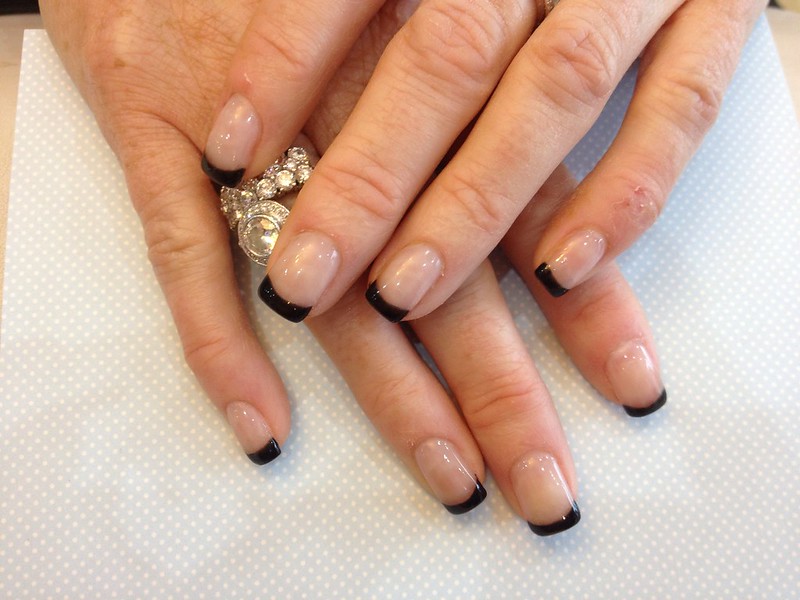
Black tips are a cool new way to do French nails. Paint the tips black instead of white to make them stand out.
You can do straight lines like normal French tips, or try fun angles for a new look. Keep the rest of your nails clear, nude, or light pink.
This looks great on long nails but works on short ones too.
5. Texture and Patterns
Black nails don’t have to be plain. Use special polish that works with magnets for a cat’s eye look, or try top coats that feel like velvet.
Want patterns? Use stickers to make lace or shapes. You can also draw simple dots and lines with a thin brush.
Use black on light polish or shiny polish on black.
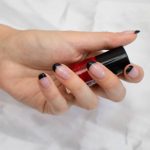
6. Mix and Match

You don’t need black on all your nails to look good. Try some black nails with nude ones, or just do one or two black nails.
This works if you’re trying black for the first time or want something subtle for work. Just make sure your colors go well together.
7. Black Chrome and Metallic Finishes
Put chrome powder on black polish and your nails will shine like mirrors. It’s perfect for parties or when you want people to notice your nails.
If that’s too flashy, try black polish with a bit of shine or metal sparkle. These catch the light but aren’t too much.
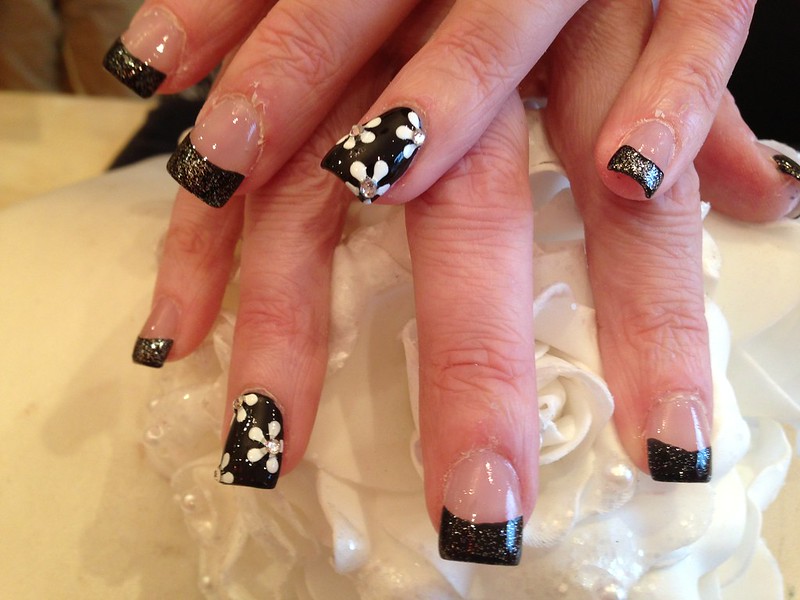
Bonus: Seasonal Black Nail Art
Black nails can be adapted for any season. Here are a few suggestions:
- For spring, add tiny white flowers or pastel accents.
- Summer calls for tropical leaves or geometric patterns in bright colors.
- Fall is perfect for marble effects or gold leaf accents.
- Winter is ideal for snowflake patterns or crystal embellishments.
The beauty of black as a base means you can create seasonal looks while maintaining your style.
How to Make Your Black Nails Last

Want your black manicure to stay perfect for longer? Try these tips.
Tip 1: Prep Work Rules
Start with clean nails. Wipe them with nail polish remover even if they look clean. This removes any oils that may prevent the polish from sticking properly.
Tip 2: Application Secrets
Apply your polish in three narrow strokes. One down the middle, then one on each side. This creates even coverage without thick spots that may peel.
Tip 3: Sealing the Deal
Always “cap” your nails by running polish across the free edge. This simple step prevents water from getting under your polish when you wash your hands.
Tip 4: Drying Time Matters
Give each coat at least two minutes to dry. Adding more polish too quickly can trap moisture, leading to bubbles or peeling.
Tip 5: Weekly Maintenance
This is very important if you want your nails to keep looking fresh.
Apply a fresh top coat every few days. This simple step adds shine and protects against chips and scratches.
Maintenance Tips for Black Nails
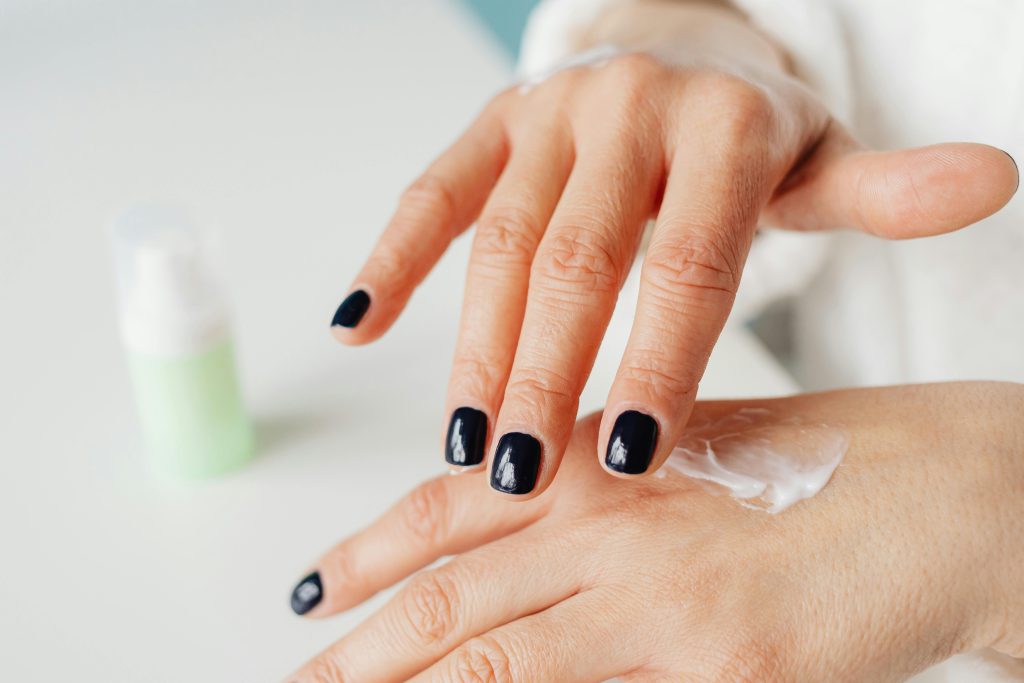
Close-up of Woman Spreading Cream on the Back of Her Hand · Free Stock Photo
Black polish shows every little imperfection, so to keep it looking fresh, you need proper maintenance. Here’s what you need to know:
1. Base Coat Protection
A quality base coat creates a barrier between your natural nail and the black polish.
This prevents the dark pigments from staining your nails yellow.
2. Clean-Up Kit
Keep these items ready: A small clean-up brush, acetone-based polish remover, and cotton swabs.
You’ll need them to fix any mistakes or touch up the edges of your manicure.
3. Quick Fixes for Chips
When chips happen, you have options:
Add a small crystal or sticker over the chip, create an accent nail, or use a glitter top coat to mask the damage until you can do a full repair.
4. Cuticle Care
Healthy cuticles make black nails look more polished.
Apply cuticle oil daily and gently push them back with a wooden stick to maintain clean lines around your nails.
5. Touch-Up Strategy
Keep your black polish handy for quick fixes. Small chips can be filled in with a tiny brush, but be careful not to flood the area with too much polish.
Your Next Nail Appointment
Ready to try black nails? You won’t regret it. They’re perfect if you want your nails to look good without trying too hard.
The best part is that they’re easy to style. No matter your styling preference, black nails always look elegant.
So next time you’re stuck picking a nail color, give black a try. It may just become your new favorite.

Hi, I’m Kate, a DIY enthusiast with a passion for creative nail designs. When I’m not caring for my herb garden or spending time with my two dogs, I’m trying out fresh nail colors and designs. I love mixing up my look with bold nails and accessories, and I’m excited to share my tips and ideas with others who enjoy a bit of DIY flair in their routine.