Table of Contents
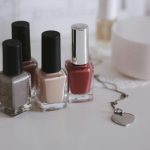
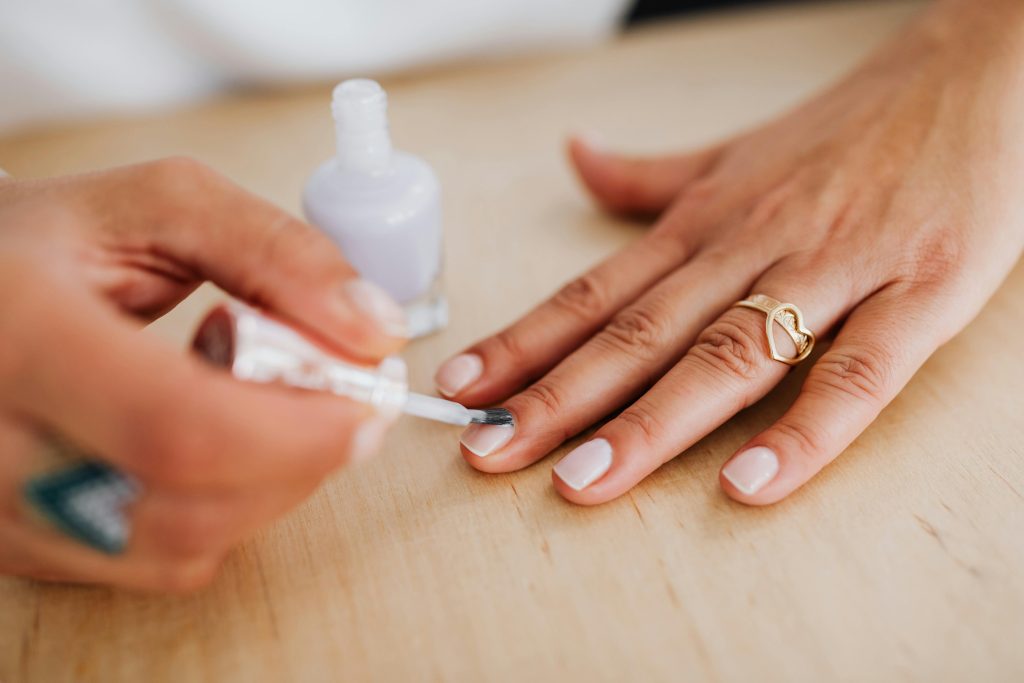
Tired of complicated nail designs that chip within days? Minimalist nail art is here to stay and for good reason.
These looks not only last longer but also match everything in your wardrobe. The best part is that you don’t need to be a nail art expert to pull them off.
Here are 6 minimalist nail art ideas that are perfect for any occasion.
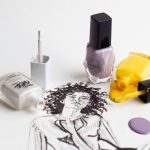
Minimalist Nail Art: Simple Ideas for a Chic Look
These simple nail art designs will make your nails look amazing with less work.
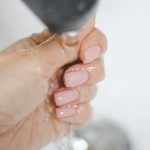
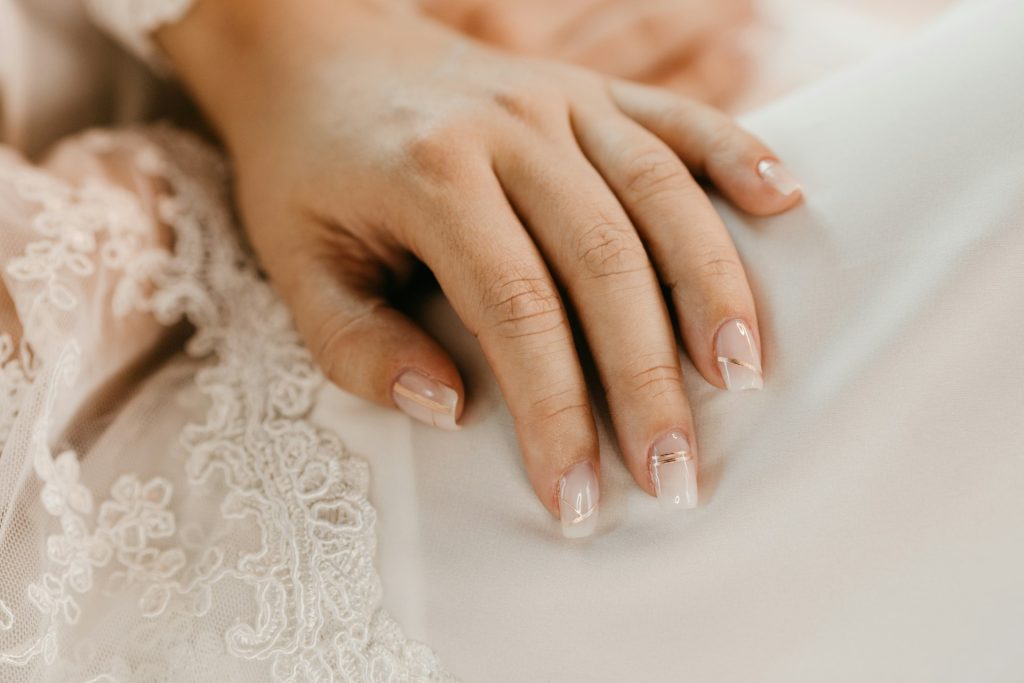
1. The Single Line Wonder
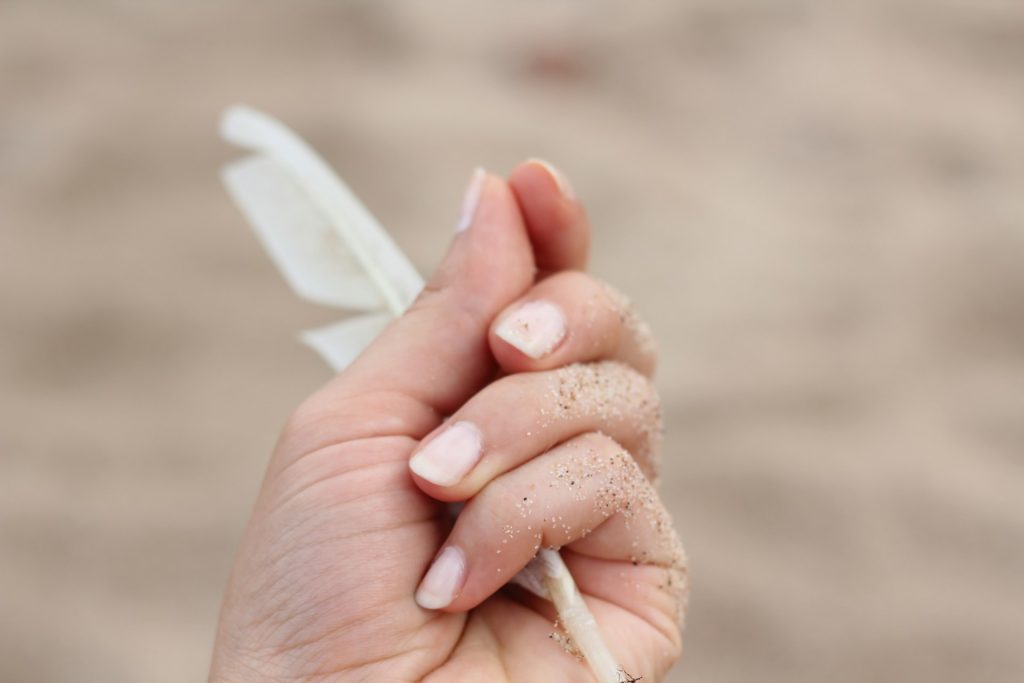
Nothing says elegance like a thin, perfectly placed line on a neutral base. Here’s how to achieve this:
- Clean and prep your nails with polish remover.
- Apply thin base coat and wait 3 minutes.
- Paint two thin coats of nude or pale pink polish that match your skin tone.
- Wait 10 minutes until it’s completely dry.
- Once dry, add a single metallic stripe – either horizontal or diagonal.
If you’re worried about steady hands, start with horizontal lines at the tips until you improve.
- Paint a thin metallic line using a striper brush.
The key is keeping the line thin and precise.
- Remove the tape while the polish is still wet (pull straight up).
- Wait 5 minutes then apply a quick-dry top coat.
For color, gold looks great on warm skin, while silver suits cool skin tones. You can wear this to work meetings or weekend brunch.
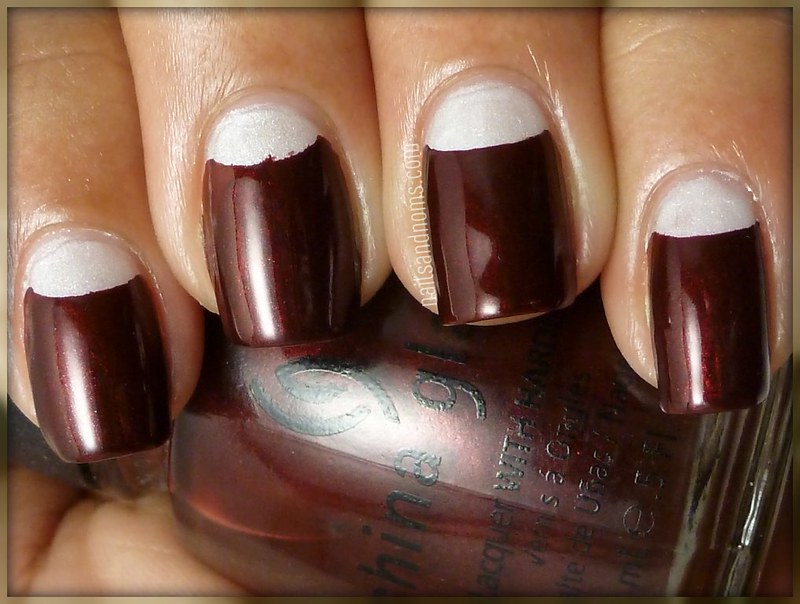
2. Negative Space Geometry
This fresh spin on French tips uses simple shapes and empty nail spaces to catch the eye. Here’s how to achieve this:
- Buff your nails until they’re smooth and then clean with acetone.
- Apply a clear base coat and wait 2 minutes.
- Cut small pieces of tape into triangles or squares.
- Place the tape exactly where you want the shapes.
- Press down all edges to prevent bleeding.
- Paint color in short, even strokes.
- Remove the tape at a 45-degree angle while polish is tacky.
- Wait 3 minutes.
- Seal it with a thin top coat.
The mix of painted and plain nails creates a pretty look that’s not too flashy for daily wear.
The white polish looks great, but light gray or pale blue works nicely too.
Since your bare nails show in this design, keep your nails neat and healthy.
3. Tiny Dots and Dashes
Small details make a big impact and here’s how you can achieve this:
- Apply the base coat and two thin coats of the main color
- Wait 15 minutes for complete drying
- Dip the dotting tool in polish and remove excess
- Hold your breath and place a single dot at the base of each nail, or create a minimal pattern with two or three dots.
- Another option is using small dashes instead. For dashes, use a thin brush and light pressure
- Keep the design minimal: 2-3 elements per nail
- Wait 5 minutes
- Apply a thin layer of top coat
You can do so much with this design. Try black dots on nude polish for work, or shiny dots on matte polish for fun.
Just remember to keep it simple. Three dots look great, but too many dots look messy.
4. The Modern Half Moon
Instead of the classic curved shape at the base, try a straight line or slight angle. Here’s how:
- Push back cuticles and apply base coat.
- Paint two thin coats of the main color.
Use two complementary colors, or go bold with a single shade against your natural nail.
Black and nude are timeless, while navy and pale pink offer a softer alternative.
- Let it dry for 10 minutes.
- Apply half-moon stickers at cuticles.
The half-moon doesn’t have to be perfect. Slightly uneven lines can add character and still look intentional.
- Paint the second color in thin, even strokes.
- Remove the stickers immediately.
- Clean your edges with the small brush dipped in acetone.
- Wait 3 minutes.
- Seal it with a top coat.
This modern twist on a classic design leaves part of the nail bare for a trendy look.
5. Minimal Color Blocking
Color blocking doesn’t mean bright rainbow patterns. Here’s how to achieve color blocking in its simple form:
- Start with base coat and wait 2 minutes
- Apply the first color in thin coats.
Try painting just the tips of your nails in one color, leaving a thin strip unpainted near the cuticle.
Or split your nail into two uneven sections with neutral shades. Think cream and taupe, or gray and white.
- Wait until it’s completely dry (15 minutes).
- Place straight tape firmly for clean lines.
- Paint the second color carefully.
- Remove the tape immediately while wet.
- Clean any mistakes with a thin brush.
- Wait 5 minutes between colors.
- Finish it up with a glossy top coat.
This style is perfect when you want your nails to stand out a bit but still look work-appropriate.
6. Subtle Shimmer Accents
Sometimes the smallest touch of sparkle is all you need and here’s how to achieve it:
- Apply dark base color in thin coats. Use a solid neutral shade,
- Wait until it’s completely dry (15 minutes).
- Load minimal shimmer on a thin brush.
- The key is using a fine shimmer rather than chunky glitter. This creates a catch-of-light effect that’s noticeable only when your hands move.
- Apply a tiny dash of shimmer polish with light pressure at the cuticle or tip.
- Clean the excess immediately.
- Wait for 3 minutes.
- Seal with a thin top coat.
It’s perfect for those who want their nail art to be a subtle surprise.
Tips for Long-Lasting Minimalist Designs
Here’s how to ensure your nail art stays on longer without chipping.
- Never skip the base coat.
- Cap free edges with each layer of polish to prevent chipping.
- Keep tools clean between colors.
- Use quick-dry drops between layers.
- Wait full dry time between steps.
- Always seal with a quality top coat.
- Reapply top coat every 2-3 days.
Key Takeaway: 6 Minimalist Nail Art Ideas That Are Perfect for Any Occasion
These designs prove that nail art doesn’t need to be complicated to be pretty. So, choose a style that matches your comfort level and daily activities.
You can start with the ‘Single Line’ if you’re new to nail art, then work your way up as you get better.
The best part about minimalist nail art? Even if it’s not perfect, it still looks intentional.

Hi, I’m Kate, a DIY enthusiast with a passion for creative nail designs. When I’m not caring for my herb garden or spending time with my two dogs, I’m trying out fresh nail colors and designs. I love mixing up my look with bold nails and accessories, and I’m excited to share my tips and ideas with others who enjoy a bit of DIY flair in their routine.