
Table of Contents
There’s something magical about catching a glimpse of glittery nails while going about your day. It can be hard finding time and money for appointments but you can create stunning, sparkly manicures right at home.
Here, I’ll show you 5 ways to add sparkle to your at-home manicure.
Tools You’ll Need
Before getting started, gather these essentials:
- Base coat and top coat
- Regular nail polish in your chosen colors
- Glitter polish in various sizes
- Makeup sponge
- Small nail brush or toothpick
- Clear polish
- Nail polish remover
- Cotton swabs for cleanup
- Paper towel or old magazine to protect your workspace
Method 1: The Glitter Fade

Want a manicure that transitions beautifully from sparkly tips to a subtle shimmer? The glitter fade technique is perfect for you.
Step 1: Apply Your Base Color
Start with a perfectly clean nail and apply your base coat to protect your natural nails from staining. Your choice of base color will set the tone for the entire look, so take time to consider what matches your glitter polish best.
Step 2: Prepare Your Sponge
Take a clean makeup sponge and cut it into smaller pieces if needed this helps you work with just the right amount of surface area for your nails. Paint a small stripe of glitter polish onto the sponge, keeping the layer thin and even.
Step 3: Create the Gradient
Position the sponge at your nail tip and start dabbing gently, using steady but light pressure. Work your way down toward the middle of your nail, gradually lifting the sponge to create that perfect fade effect.
Step 4: Build the Sparkle
Give your first layer about a minute to set, then go in for your second round of dabbing. Focus most of the glitter at the tip again, but this time extend it slightly further down to create depth.
Step 5: Seal and Shine
Once you’re happy with your gradient and everything is completely dry, it’s time for the finishing touch. Apply a generous layer of top coat, making sure to cap the free edge of your nail to prevent chipping.
Method 2: The Sparkle Sandwich
This technique sandwiches sparkle between layers of polish for a sophisticated look that appears to float within your nail.
Step 1: Base Application
Start with clean nails and apply your regular base coat to protect your natural nails. Once you’ve applied the base coat, add two thin layers of your chosen color, letting each one dry completely.
Step 2: Glitter Layer
Paint a thin, even coat of glitter polish over your base color, focusing on spreading the sparkles evenly across the nail.
Don’t worry about getting full coverage here you want the glitter to look like it’s suspended in the final product. Give this layer plenty of time to dry to prevent smudging your design.
Step 3: The Magic Layer
Apply a sheer polish in a similar shade to your base color over the glitter once it’s completely dry. Make sure to apply this layer evenly to maintain the professional finish.
Step 4: The Final Touch
Finish with a thick layer of quick-dry top coat, making sure to seal the edges of your nails. This step not only protects your design but also gives it that glossy, salon-quality finish that makes the sparkle really pop.
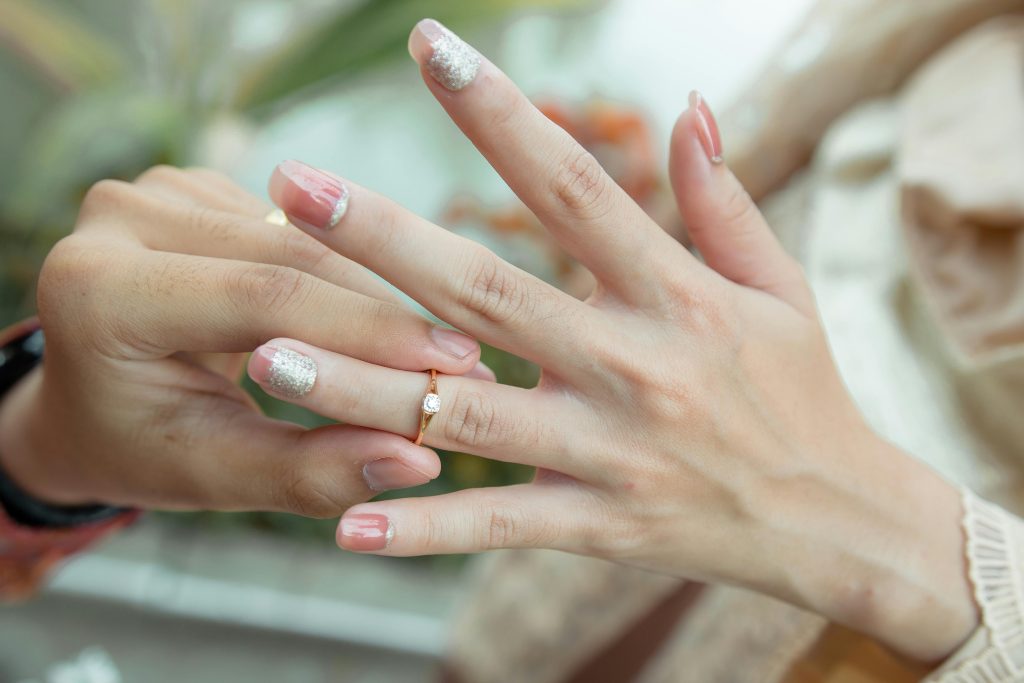
Method 3: Strategic Accent Nails

This method focuses glitter on select nails for a balanced, sophisticated design that works for any occasion.
Step 1: Choose Your Accents
Typically one or two nails per hand create the perfect balance. While the ring finger is a classic choice, don’t be afraid to switch things up by selecting different fingers for a unique look.
Step 2: Base Preparation
Apply a base coat to all your nails, then add your chosen color to the non-accent nails. Let these base colors dry completely to prevent any mixing with your glitter layer.
Step 3: Glitter Application
Working on your accent nails, apply your first coat of glitter polish using smooth, even strokes from base to tip.
Wait about two minutes between coats, then add a second layer to build up the sparkle intensity. Keep your strokes consistent to avoid creating patches or uneven spots.
Step 4: Final Steps
Once all nails are dry, seal everything with a generous layer of top coat. Pay extra attention to your glitter nails, ensuring the top coat completely covers the sparkly texture.
Method 4: Full Coverage Sparkle

This method gives you lots of sparkle in your manicure without too much work.
Step 1: Proper Polish Prep
Start by rolling the glitter polish between your hands rather than shaking it this prevents air bubbles and helps distribute the glitter evenly.
Apply your base coat and give it time to dry completely before moving forward. This foundation step is crucial for achieving an even application.
Step 2: Layer Building
Start with thin coats of glitter polish, using gentle strokes and letting the polish spread naturally. Work in bright light so you can see any uneven spots as you go.
Then wait about two minutes between each coat to prevent dragging or creating bare patches.
Step 3: Smooth Surface
Apply your first layer of top coat, focusing on filling in around the glitter pieces to create an even surface. Once that’s dry, add a second layer of top coat for a glass-like finish that makes your manicure shine.
Method 5: The Glitter Tap

This precise placement technique gives you complete control over your design and works beautifully for creating custom patterns.
Step 1: Base Layer
Begin with your base coat and chosen color, applying two thin coats for perfect coverage. Let each layer dry completely to prevent any smudging when you add your glitter.
Step 2: Design Creation
Apply a layer of top coat and while it’s still wet, use a small brush or toothpick to place single glitter pieces in your desired pattern. Work from one side of the nail to the other to maintain control over your design.
Step 3: Seal Your Work
Once you’re happy with your glitter placement, let everything dry for about five minutes. Seal your design with a thick layer of top coat, applying it carefully to avoid disturbing your pattern.
Make Your Sparkle Shine
Creating beautiful glitter manicures at home is all about patience and practice. So, don’t worry if your first attempt isn’t perfect.
With each try, you’ll develop your skills. Soon enough, you’ll be creating stunning sparkly designs that look professional.

Hi, I’m Kate, a DIY enthusiast with a passion for creative nail designs. When I’m not caring for my herb garden or spending time with my two dogs, I’m trying out fresh nail colors and designs. I love mixing up my look with bold nails and accessories, and I’m excited to share my tips and ideas with others who enjoy a bit of DIY flair in their routine.


